
Choosing gym flooring? It’s a big decision. Get it wrong, and you’ve got a safety hazard and a maintenance nightmare. Get it right, and you create a great workout space.
The main thing to consider when picking rubber gym flooring is what you’ll be doing on it. Different activities need different thicknesses and materials. Think heavy weights versus light cardio. Also, you want something that lasts and is easy to clean.
 Rubber Gym Flooring Options
Choosing the right flooring isn’t just about looks, It is important to make the right choice. So, let’s dive deep into everything you need to know, from types to costs.
What Are the Different Types of Rubber Gym Flooring?
Choosing flooring can feel overwhelming. Different types, different uses. Where do you even start? It is hard to pick the right one.
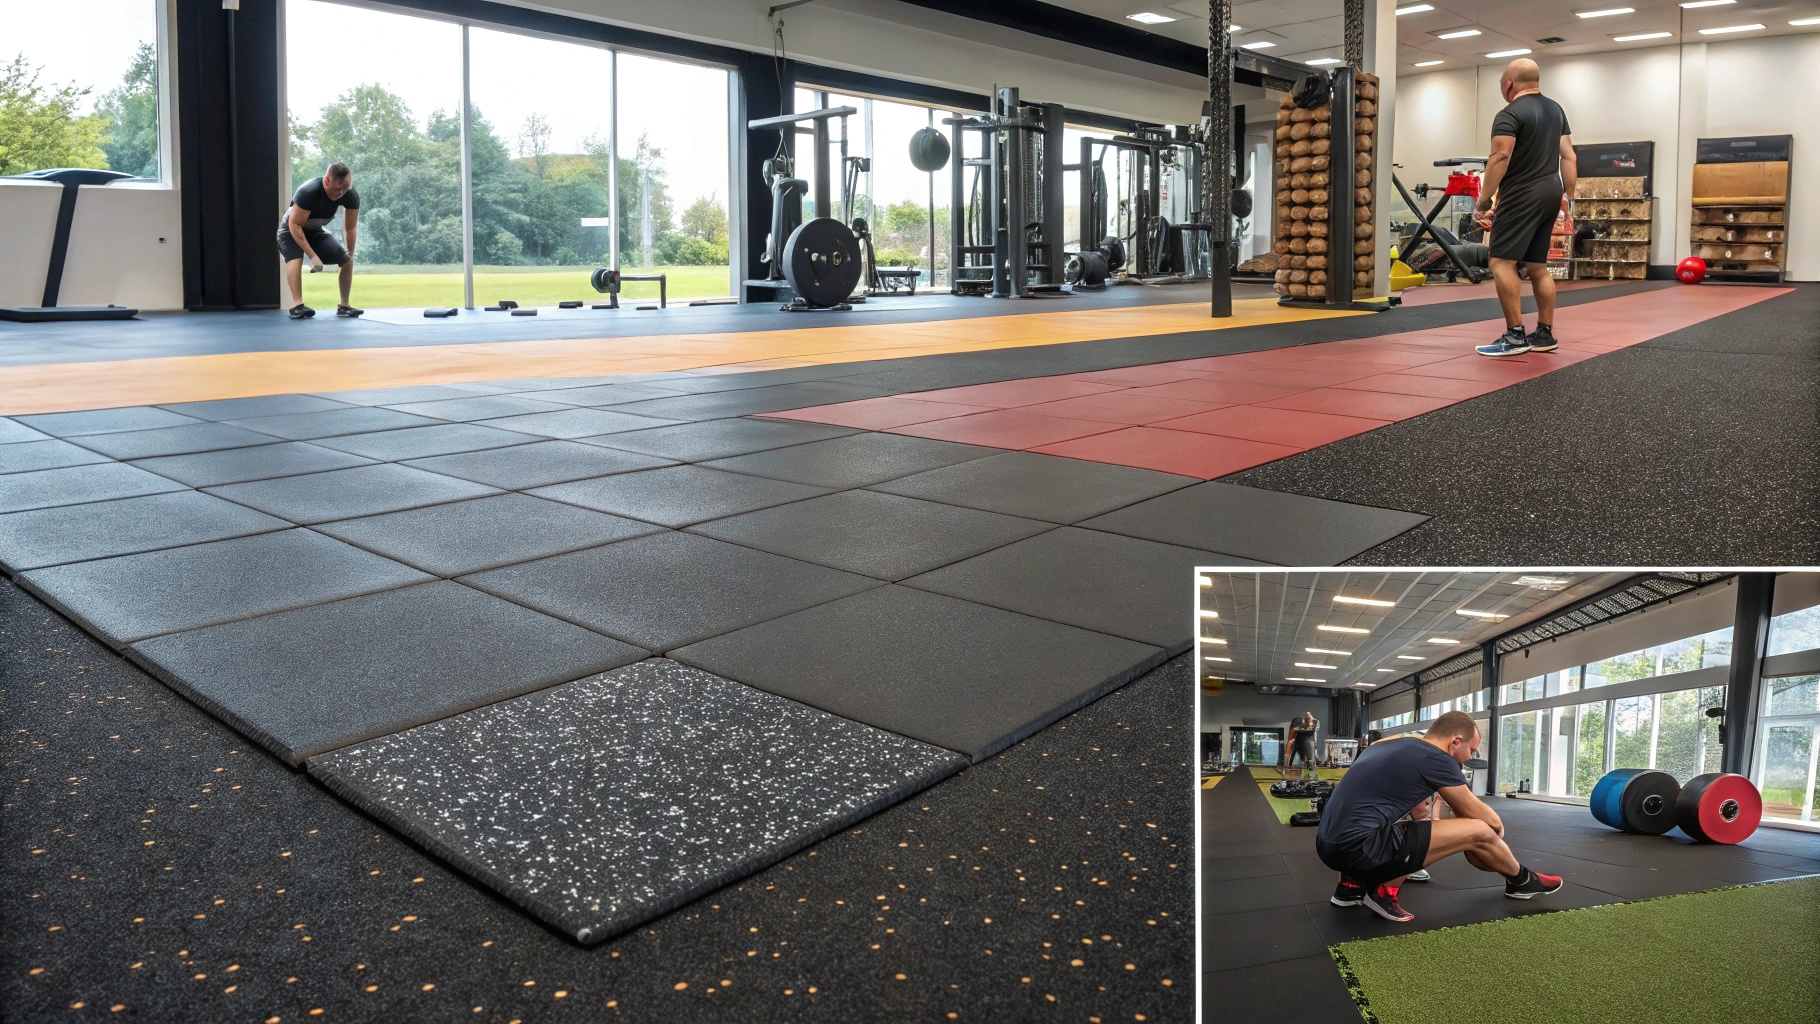
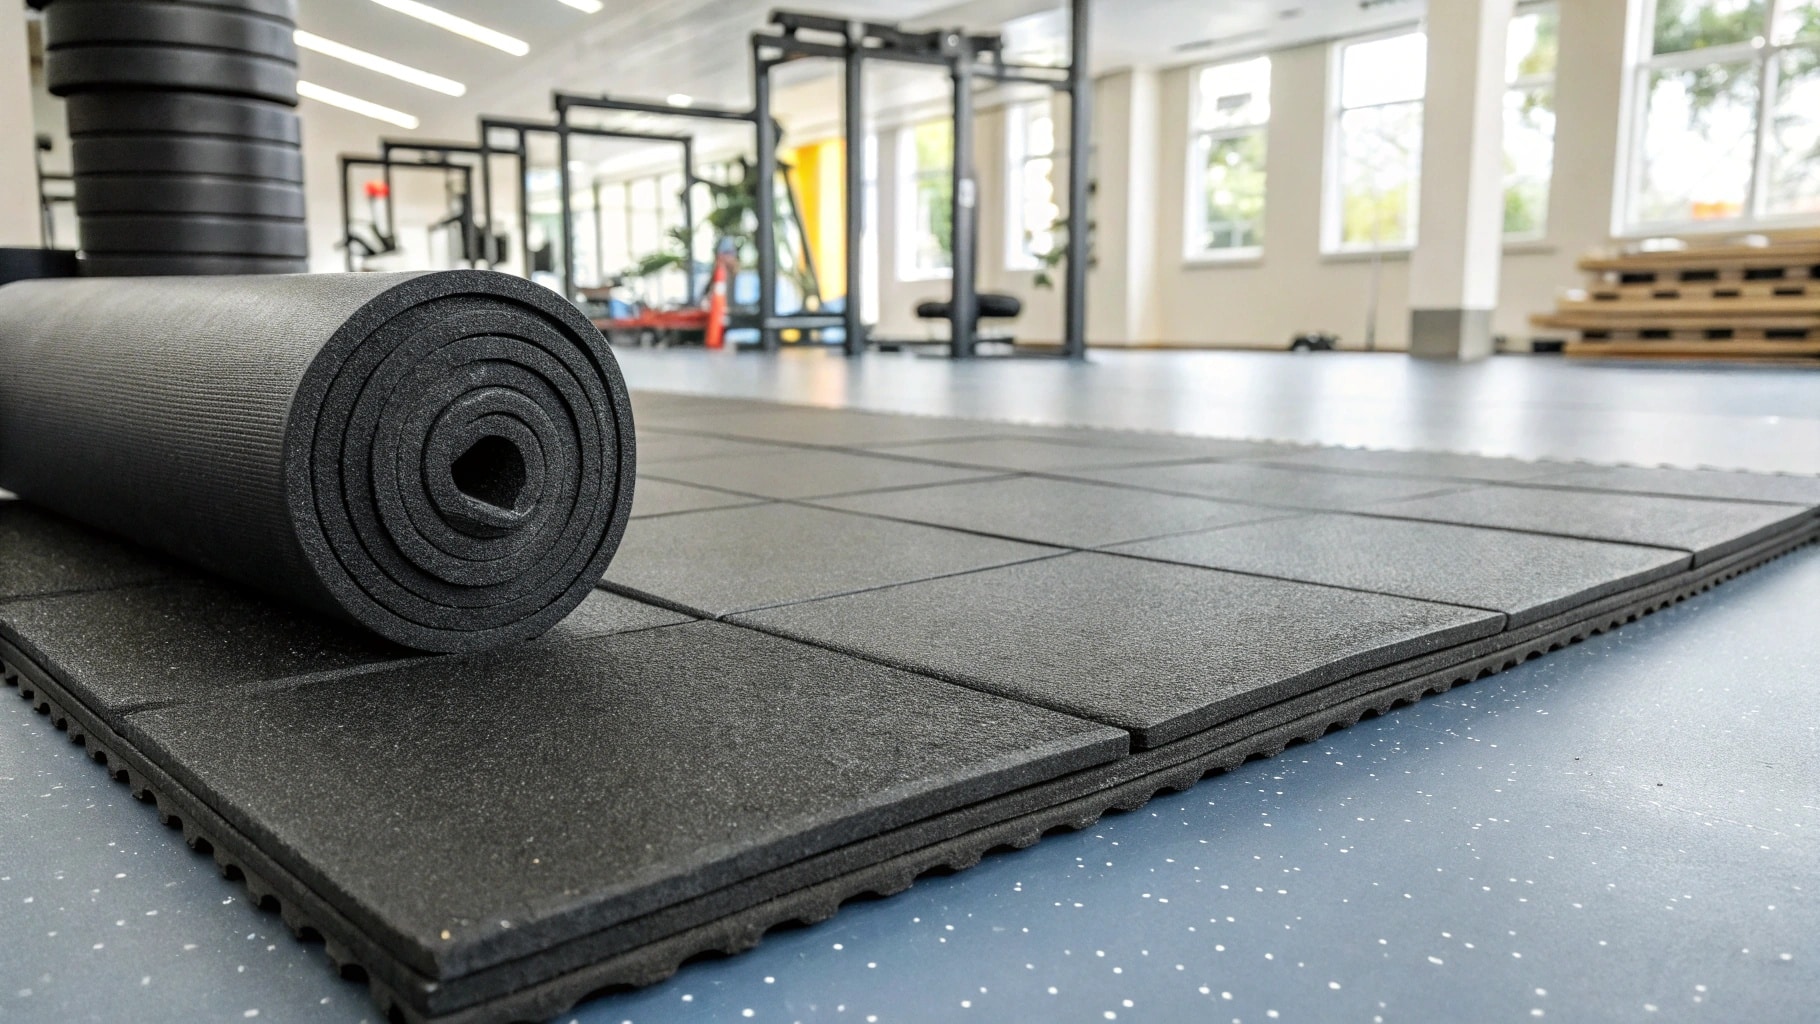
There are mainly three types: rubber rolls, rubber tiles, and interlocking rubber tiles. Rolls are great for large areas, tiles for smaller spaces, and interlocking tiles1 for easy DIY installation and best for complex room.
 Types of Rubber Gym Flooring
Let’s break it down further:
Types of Rubber Gym Flooring
| Type | Pros | Cons | Best For |
|---|---|---|---|
| Rubber Rolls | Covers large areas quickly, seamless, cost-effective. | Difficult to install alone, heavy. | Large, open gym spaces |
| Rubber Tiles | Easy to handle, good for smaller spaces, replace individual tiles if damaged. | Seams can be visible, more time-consuming to install than rolls. | Smaller gyms, specific workout areas |
| Interlocking Tiles | Super easy DIY installation, no adhesive needed, portable. | Can shift under heavy weight, seams more noticeable. | Home gyms, temporary workout spaces |
| Rubber paver | can be used both indoors and outdoors, good weather resistance, easy to install. | hard,poor on shock absorbtion. | outdoor |
Think about your space. A big, open area? Rolls might be your best bet. A small home gym? Interlocking tiles could be perfect. Got a weirdly shaped room? Regular tiles give you the most flexibility. And consider who’s installing it. If you’re doing it yourself, interlocking tiles are much easier than wrestling with a giant roll of rubber.Choosing the right type is the first step to a great gym.
What Are the Benefits of Using Rubber Flooring in a Gym?
Why rubber? Why not just use concrete or carpet? You want something that is good.
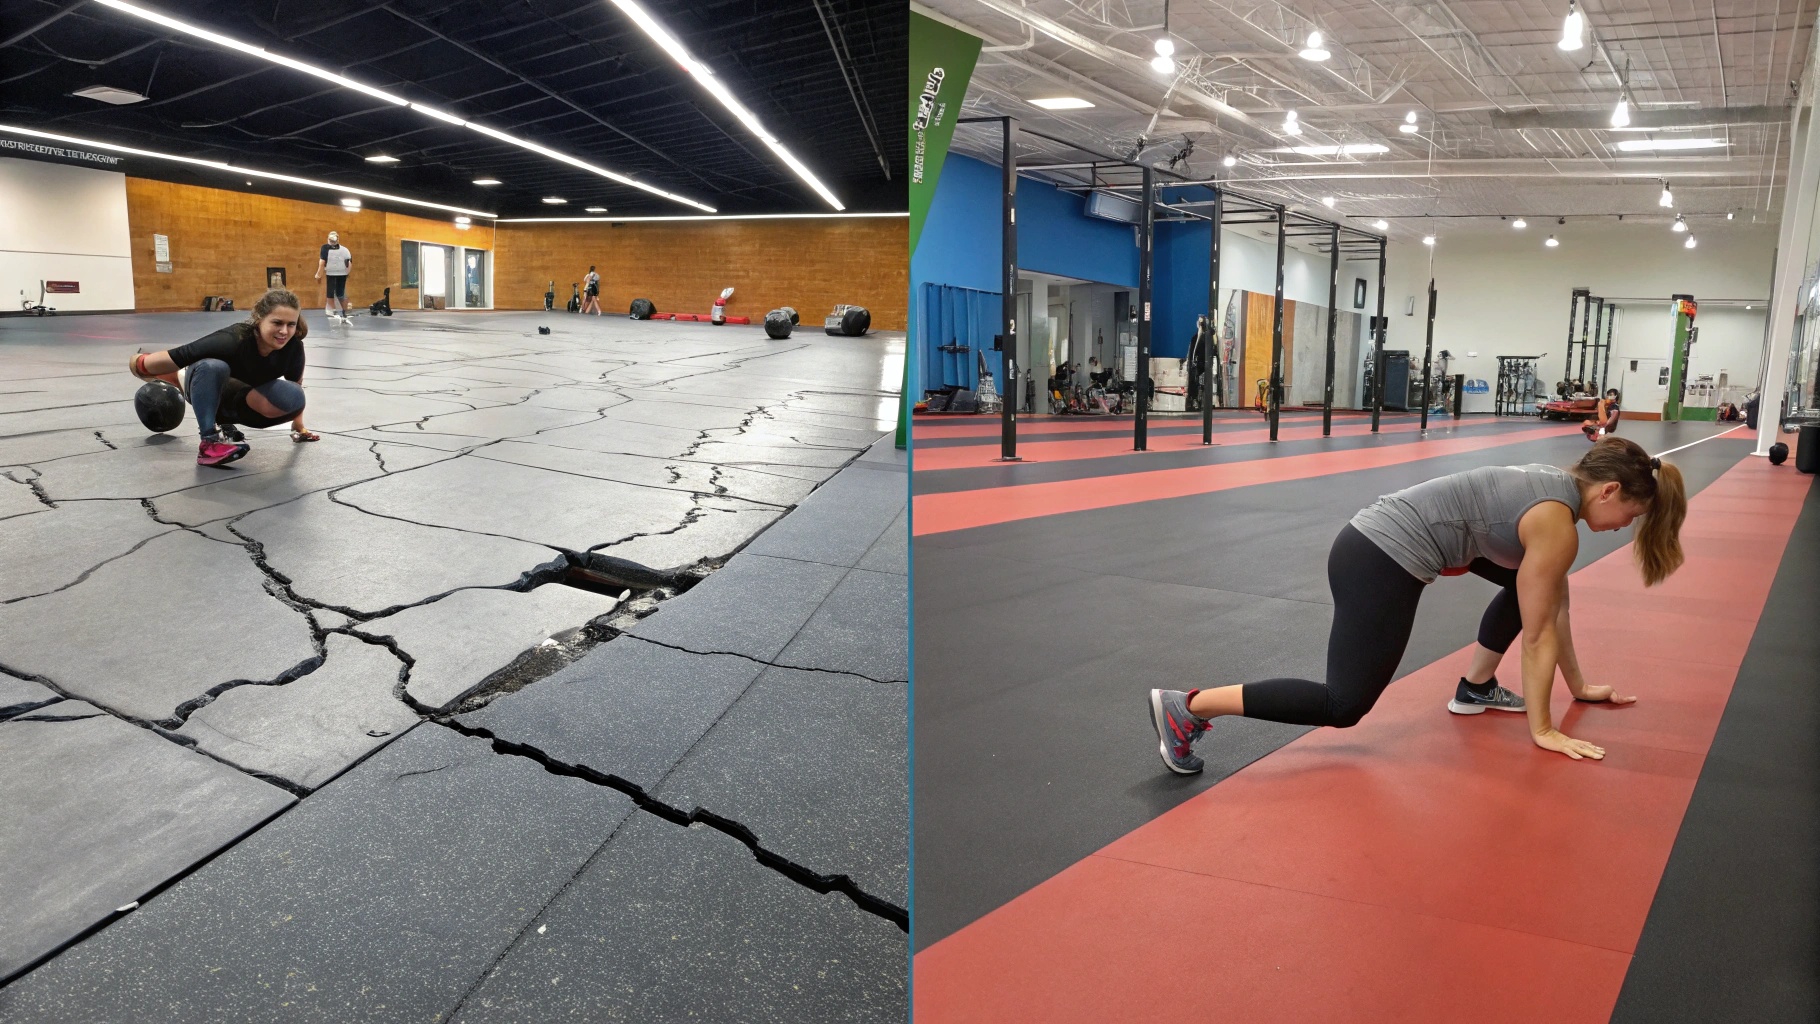
Rubber flooring is durable, shock-absorbent, slip-resistant, and easy to clean. It protects your subfloor, your equipment, and, most importantly, your body. It also reduces noise.
 Benefits of Rubber Gym Flooring
Let’s explore the "why" of rubber:
Advantages
- Safety First: Rubber’s natural slip resistance is a big deal. It prevents falls.
- Joint Saver: That shock absorption isn’t just for dropped weights. It’s gentler on your knees, ankles, and back during high-impact workouts. I used to do plyometrics on concrete, and my knees paid the price. Rubber made a huge difference.
- Equipment Protection: Dropping a dumbbell on concrete? That’s a recipe for damage, either to the weight or the floor. Rubber helps avoid those costly repairs.
- Noise Reduction: Ever heard weights clanging in a gym with a hard floor? It’s loud. Rubber muffles that sound, which is great for you and anyone nearby.
- Clean and simple: rubber easy to clean.
Rubber’s not just a floor, it is very usefull.
How to Choose the Right Rubber Flooring for Your Gym?
So you know you want rubber, but how do you pick the right rubber? Pick the wrong thickness, and you’ll be replacing it sooner than you think.
Consider your main activities. Weightlifting needs thicker flooring than yoga. Also, think about the size of your space, your budget, and whether you want to install it yourself.
 Choosing the Right Rubber Flooring
Let’s dig into the specifics:
Key Considerations
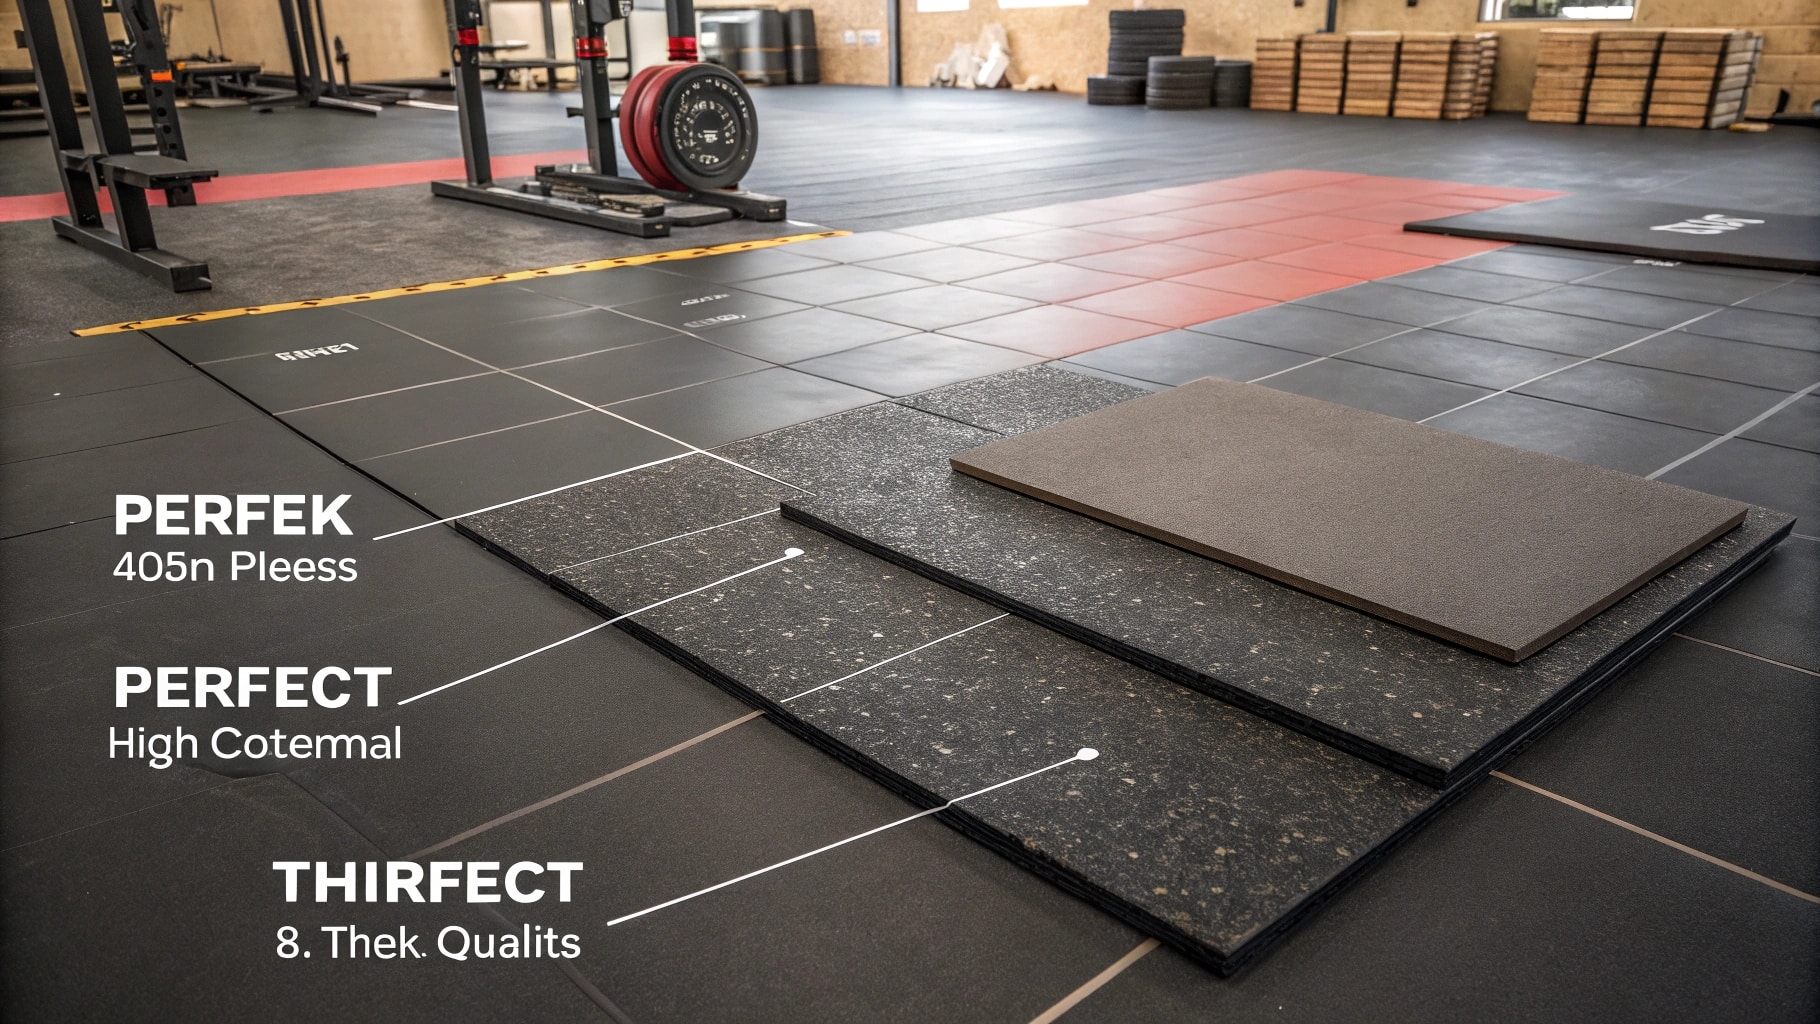
- Thickness: This is crucial.
- 8mm – 10mm: Good for general fitness, light weights, cardio machines.
- 15mm+: Essential for heavy weightlifting, CrossFit, areas where weights might be dropped. I learned this the hard way – I started with 10mm in my home gym, and quickly realized I needed 15mm when I started lifting heavier.
- Material:
- Virgin Rubber: The highest quality, most durable, but also the most expensive.
- Recycled Rubber: Made from shredded tires, more eco-friendly, and usually more affordable. Great for most gym uses.
- EPDM Rubber: Contains colored flecks, often used for aesthetics, very durable, and UV-resistant (good for outdoor use).
- Density: Higher density means more durable, but also firmer. You want a balance between cushioning and support.
Choosing the right flooring is about matching the material to your needs. Don’t skimp on thickness if you’re lifting heavy, and consider recycled rubber for a good balance of quality and cost.
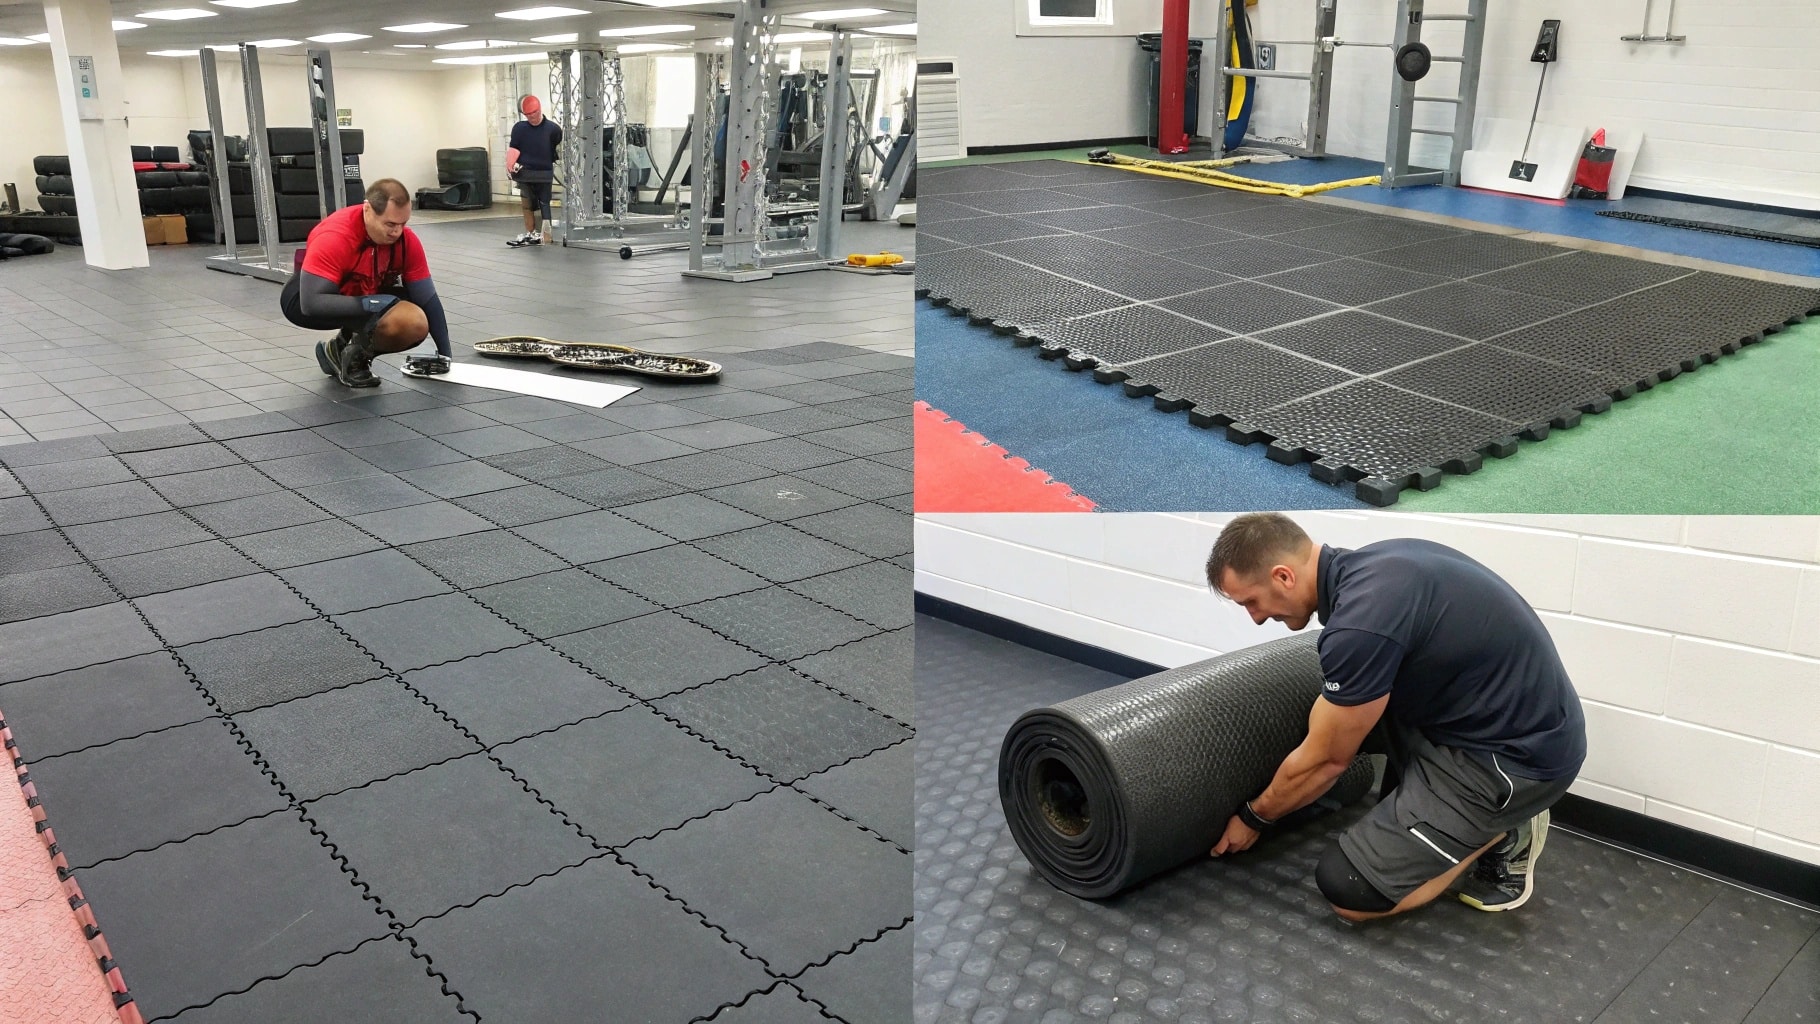
How to Install Rubber Gym Flooring?
Installation – sounds daunting, right? Messing up the installation can mean wasted money and a floor that doesn’t perform.
Installation depends on the type. Rolls often need adhesive, tiles might, and interlocking tiles usually don’t. Always follow the manufacturer’s instructions.
 Installing Rubber Gym Flooring
Let’s break down the process:
Installation Methods
- Rubber Rolls:
- Full Glue-Down: The most secure method, best for heavy use. Requires spreading adhesive on the subfloor and carefully rolling out the rubber.
- Tape-Down: Uses double-sided tape around the perimeter. Less permanent, but can work for lighter use.
- Rubber Tiles2:
- Glue-Down: Similar to rolls, provides the best stability.
- Loose Lay: Simply lay the tiles on the floor, relying on their weight to keep them in place. Works best for smaller areas, lighter use.
- Interlocking Tiles:
- No Adhesive: The beauty of these is the easy, puzzle-like installation. Just connect the tabs.
Important Tip: No matter the method, always start with a clean, level subfloor. Any imperfections will show through the rubber.
Installation doesn’t have to be scary. Interlocking tiles are a breeze, and even rolls can be manageable with a little help.
How to Clean and Maintain Rubber Gym Flooring?
You’ve got your new floor, but how do you keep it looking good? Ignore cleaning, and you’ll end up with a smelly, stained mess.
Regular sweeping or vacuuming, plus damp mopping with a mild soap and water solution, is usually all you need. Avoid harsh chemicals.
[^3]](https://www.byfitgear.com/wp-content/uploads/2025/02/Cleaning-Rubber-Gym-Flooring.jpg) Cleaning Rubber Gym Flooring
Cleaning Rubber Gym Flooring
Let’s get into the cleaning routine:
Cleaning and Maintenance Tips
- Daily/Weekly: Sweep or vacuum to remove loose dirt and debris. This prevents grinding dirt into the rubber.
- Weekly/Monthly: Damp mop with a pH-neutral cleaner. Don’t soak the floor – too much water can seep into seams.
- Stains: Treat spills immediately. Most stains will come out with mild soap and water, but tougher stains might need a specialized rubber floor cleaner.
- Avoid:
- Solvents: These can damage the rubber.
- Bleach: Can discolor the flooring.
- Oil-Based Cleaners: Can make the floor slippery.
Keeping your rubber floor clean is easy. Just stay on top of it, and avoid harsh chemicals that could cause damage.
What is the Cost of Rubber Gym Flooring?
Let’s talk money. Pricing can vary wildly. Buy cheap flooring, and you might regret it.
The cost depends on type, thickness, and material. Expect to pay anywhere from $2 to $10 per square foot, or even more for specialty flooring.
 Cost of Rubber Gym Flooring
Let’s look at some price ranges:
Cost Factors
- Rubber Rolls: Generally the most cost-effective per square foot, especially for large areas.
- Rubber Tiles: Mid-range price, good for smaller spaces.
- Interlocking Tiles: Can be slightly more expensive than regular tiles, but the ease of installation can save you money on labor.
- Virgin Rubber: More expensive than recycled rubber.
- Thickness: Thicker flooring costs more.
- brand different brand with different price.
Remember to factor in shipping costs, and installation if you’re not doing it yourself. Don’t just look at the upfront price – consider the long-term value. A slightly more expensive, durable floor might save you money in the long run.
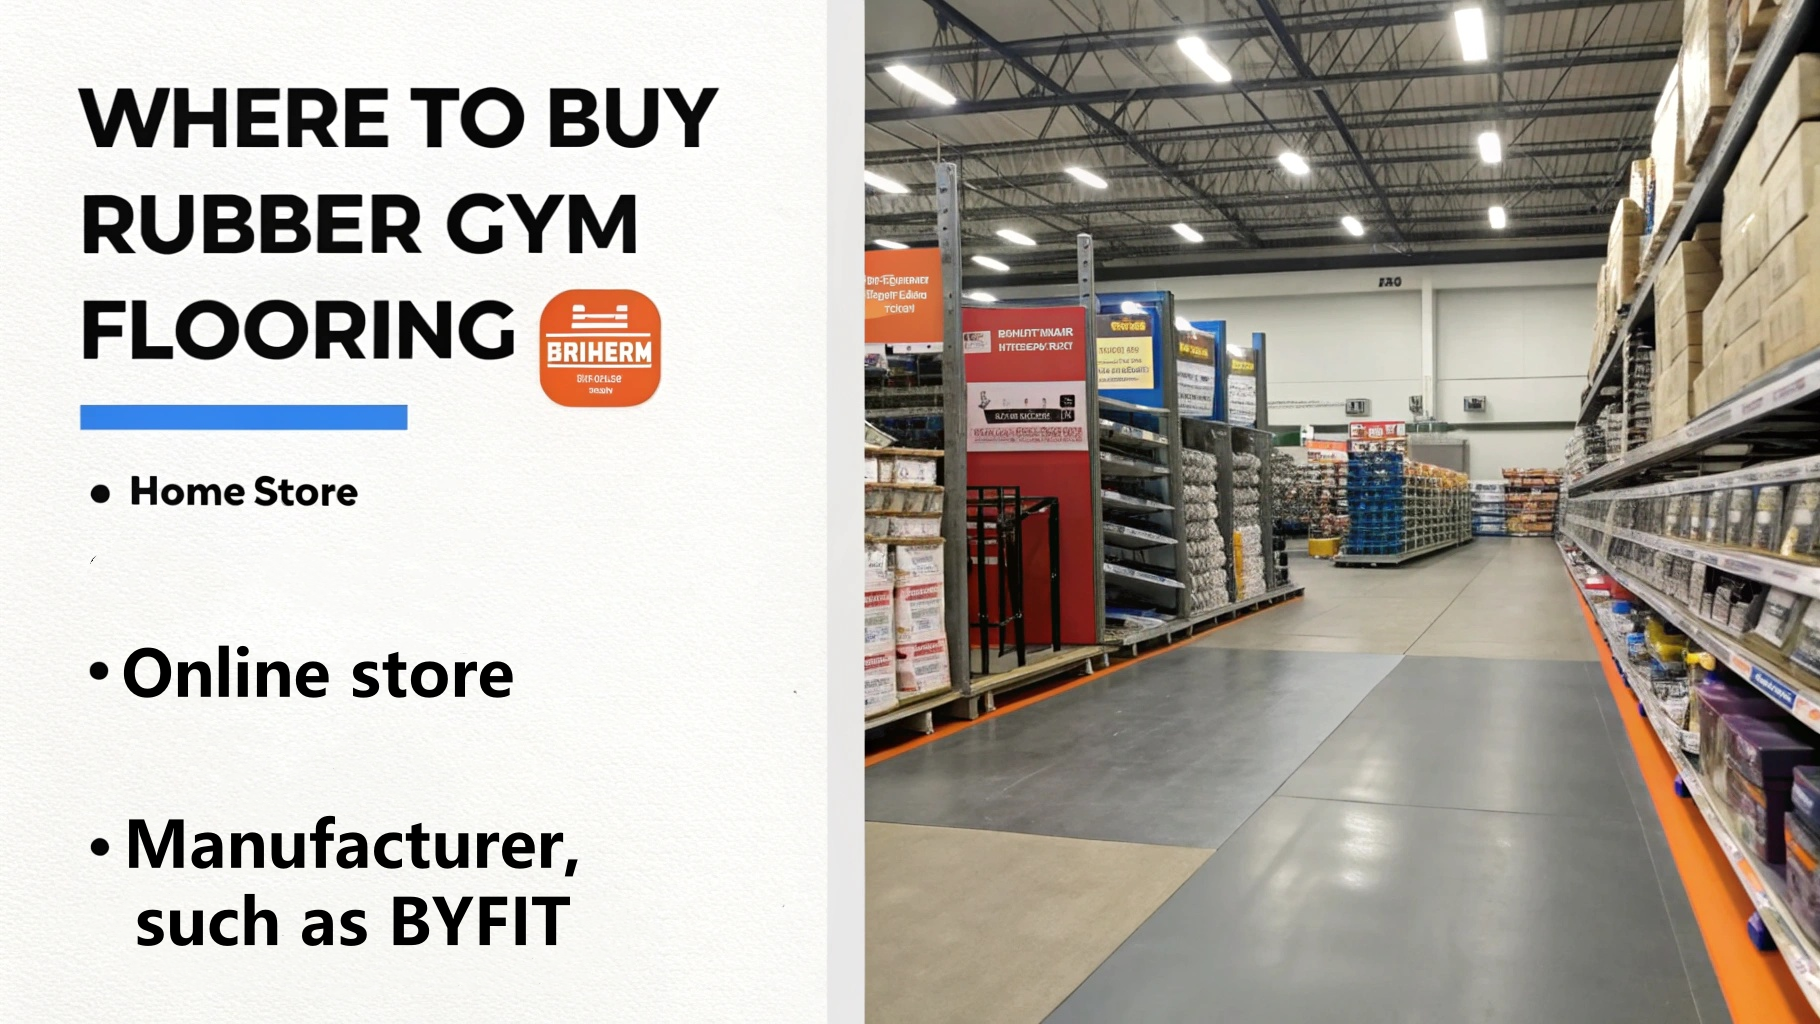
Where to Buy Rubber Gym Flooring?
So, you’re ready to buy. But where do you go? Finding a supplier can feel like searching for a needle in a haystack.
You can find rubber gym flooring3 at home improvement stores, online retailers, and specialty flooring suppliers4. Consider buying direct from a manufacturer5, like BYFIT, for wholesale prices.
 Where to Buy Rubber Gym Flooring
Here’s a breakdown of your options:
Purchasing Options
- Home Improvement Stores: Convenient for small quantities, but selection can be limited.
- Online Retailers: Huge selection, often good prices, but you can’t see the product in person before buying.
- Specialty Flooring Suppliers: Experts in flooring, can offer advice and a wider range of options.
- Direct from Manufacturer (like BYFIT): Best for large quantities, wholesale pricing, and often, customization options. We can even put your gym’s logo on the flooring!
If you’re a business, buying direct from a manufacturer like BYFIT can save you a significant amount of money. Plus, you get the benefit of working directly with the people who make the product.
Conclusion
Choosing rubber gym flooring is a big decision, but it’s not rocket science. Think about your needs, your space, and your budget. Do your research, and you’ll find the perfect floor for your workouts!
-
Learn the installation process for interlocking tiles, making your DIY gym project easier and more efficient. ↩
-
Explore this link to discover effective installation techniques for Rubber Tiles, ensuring a durable and long-lasting floor. ↩
-
Explore this link to discover various suppliers and options for rubber gym flooring that suit your needs and budget. ↩
-
Learn about specialty flooring suppliers and how they can provide expert advice and a wider range of flooring options for your gym. ↩
-
Find out why purchasing directly from manufacturers like BYFIT can save you money and offer customization options for your gym flooring. ↩