Struggling with the thought of installing rubber flooring? Feeling overwhelmed by the potential cost and complexity? Thinking it might be too much to handle on your own?
Yes, installing rubber flooring can be a DIY-friendly project, but it depends on the type of flooring, the size of the area, and your skill level. Interlocking tiles are generally easier for DIYers, while rolls require more precision and are often best left to professionals. Proper subfloor preparation is crucial for success.
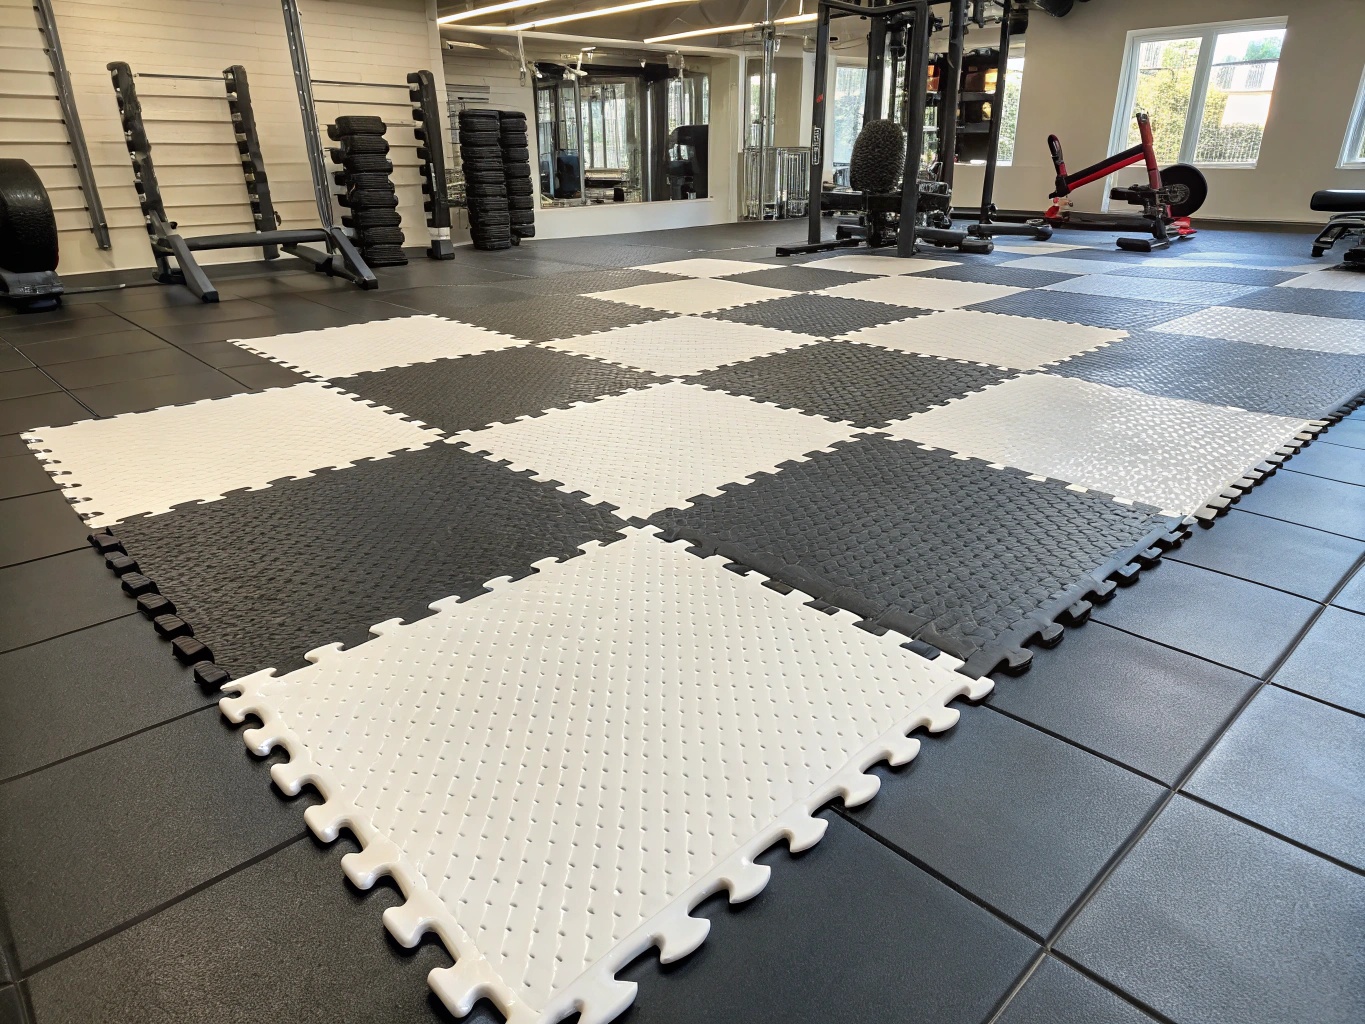 Rubber Flooring Installation
This guide breaks down everything you need to know. From choosing the right materials to mastering each step, we’ve got you covered. So, keep reading—your new gym floor awaits!
Is Installing Rubber Flooring Really a DIY-Friendly Project?
Feeling daunted by the prospect of installing rubber flooring1 yourself? Unsure if you have the necessary skills? Worried about making costly mistakes?
Installing rubber flooring can be DIY-friendly, particularly with interlocking tiles2. However, rolled rubber is more challenging and often requires professional installation. Success depends on careful planning, proper tools, and meticulous subfloor preparation3.
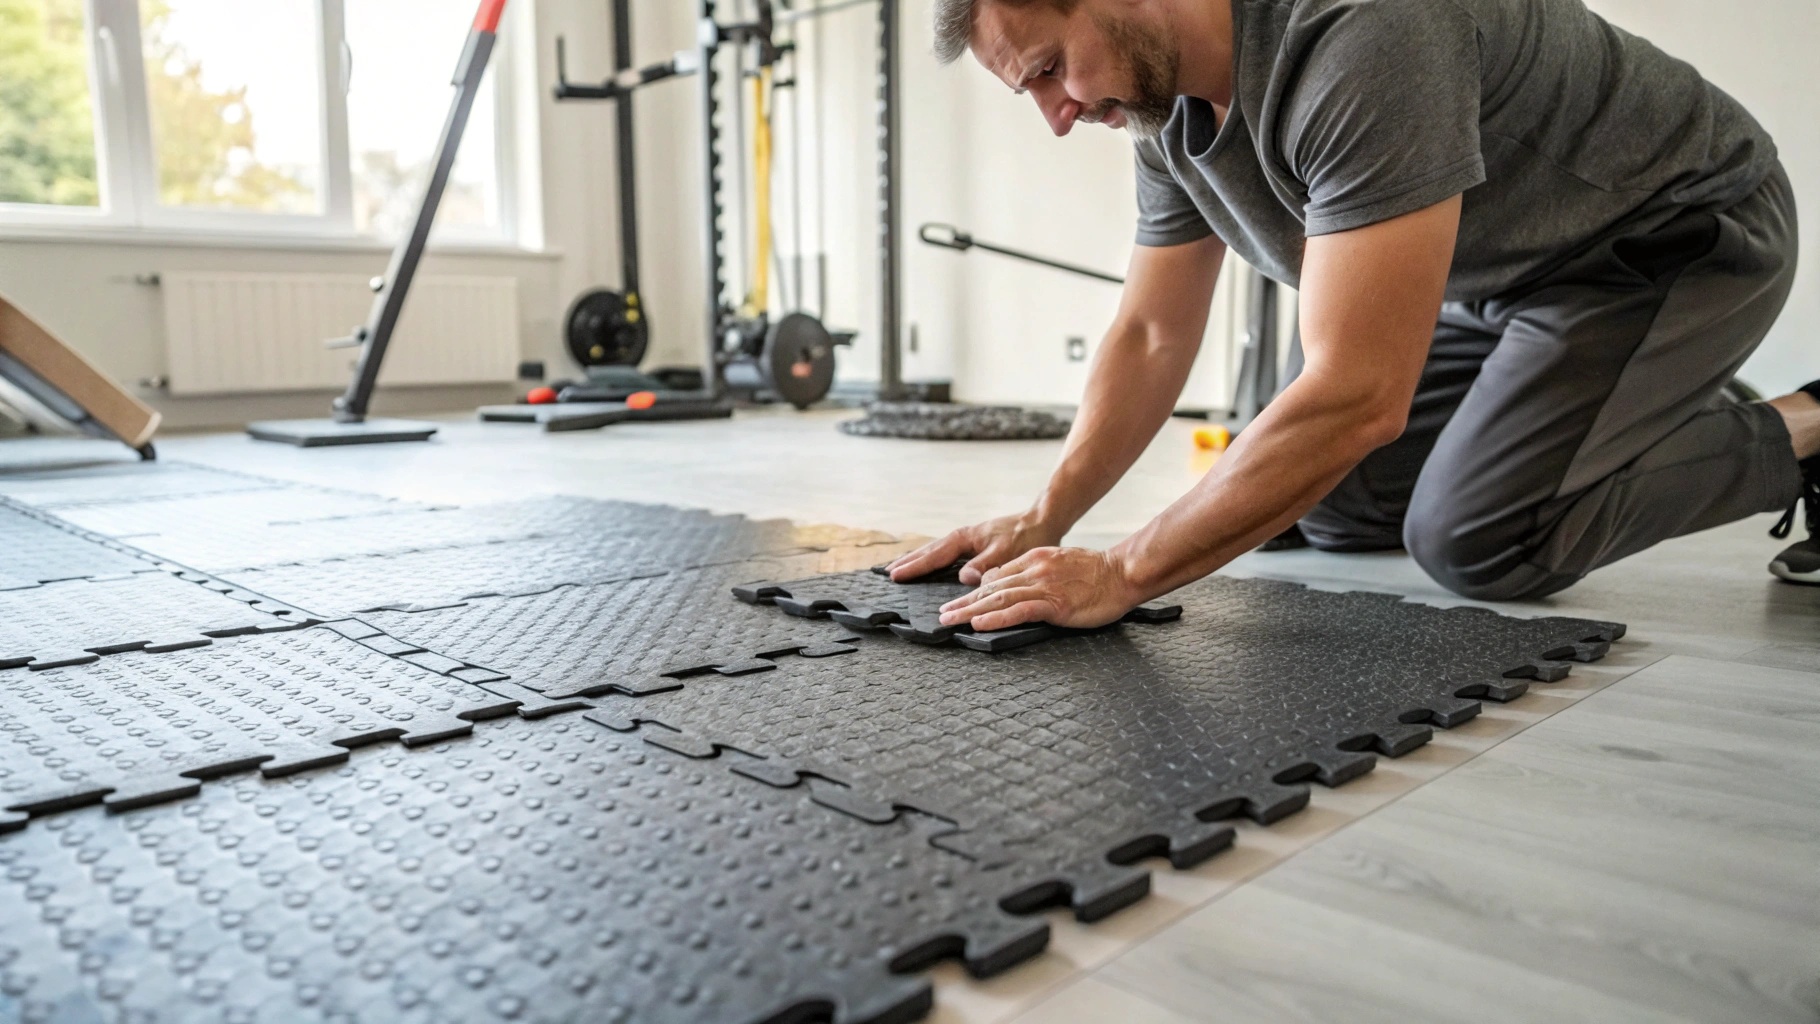 DIY Rubber Flooring
Let’s explore this further.
What are the benefits of DIY rubber flooring installation?
Thinking about saving some money? Want the satisfaction of doing it yourself? Wondering if the effort is really worth it?
The main benefit of DIY rubber flooring installation4 is cost savings5. You’ll avoid labor charges, potentially saving a significant amount. It also gives you complete control over the project and timeline.
| Benefit | Description |
|---|---|
| Cost Savings | Eliminates labor costs, which can be substantial for professional installation. |
| Control | Full control over the project, including timing, materials, and installation method. |
| Satisfaction | The personal satisfaction of completing a home improvement project yourself. |
| BYFIT Benefit | BYFIT offers detailed installation guides6 and customer support, even for DIYers. This can make a big difference in achieving a professional-looking result! [email protected] |
What challenges might you face during DIY rubber flooring installation?
Worried about making irreversible mistakes? Concerned about the physical demands of the job? Unsure if you have the right tools?
The biggest challenge is subfloor preparation7. The subfloor must be perfectly level, clean, and dry. Cutting rubber, especially rolls, can also be difficult, and handling heavy materials8 requires physical strength.
| Challenge | Description |
|---|---|
| Subfloor Preparation | Requires a perfectly level, clean, and dry subfloor, which can involve significant work and specialized tools. The biggest issue is many DIY installers skip professional subfloor moisture testing. |
| Cutting | Rubber can be tough to cut accurately, especially thick rolls. |
| Heavy Materials | Rubber flooring can be heavy and awkward to handle, requiring physical strength and potentially assistance. |
| Seams (for rolls) | Creating tight, professional-looking seams with rolled rubber requires skill and specialized tools. |
| BYFIT Advantage | BYFIT’s high-quality rubber flooring is designed for easier cutting and handling, minimizing some of these challenges. Get a quote today! https://byfitgear.com/ |
When should you call a professional for rubber flooring installation?
Unsure about your abilities? Dealing with a large or complex space? Concerned about warranty issues?
Call a professional if you’re installing rolled rubber in a large area, if your subfloor needs significant repairs, or if you’re uncomfortable with any part of the process. Professionals have the experience and tools to ensure a flawless, long-lasting installation.
| Scenario | Reason |
|---|---|
| Large or Complex Areas | Large areas and complex layouts increase the difficulty and potential for errors. |
| Significant Subfloor Issues | Extensive leveling, moisture mitigation, or repairs are best handled by professionals. |
| Rolled Rubber Installation | Rolled rubber requires precise cutting, seam welding, and specialized tools. |
| Lack of Confidence or Experience | If you’re unsure about any step, it’s best to hire a professional to avoid costly mistakes. |
| Warranty Concerns | Professional installation may be required to maintain the manufacturer’s warranty. |
BYFIT Recommendation: For large commercial projects or if you have any doubts, BYFIT strongly recommends professional installation. Contact us for a list of trusted installers! +8618353381773
What Tools and Materials Do You Need for Rubber Flooring Installation?
Feeling overwhelmed by the list of supplies? Unsure what’s essential and what’s optional? Wondering where to even find some of these tools?
You’ll need basic tools like a tape measure, utility knife, and straightedge. For adhesive installations, you’ll need a notched trowel and the correct adhesive. Subfloor preparation may require a level, moisture meter, and potentially a floor grinder.
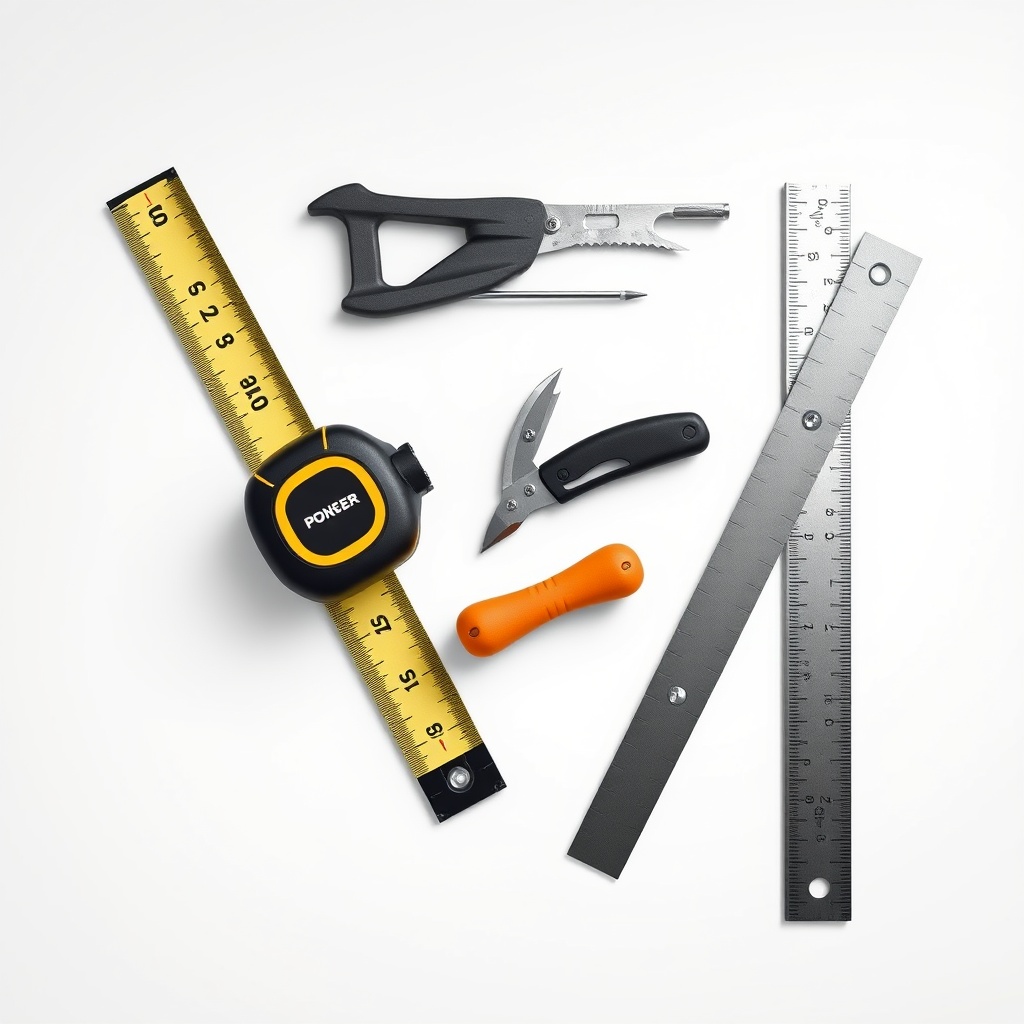 Rubber Flooring Tools
Let’s dive into the specifics.
What are the essential tools for cutting rubber flooring?
Worried about making clean, accurate cuts? Unsure what type of knife to use? Concerned about damaging the rubber?
A sharp utility knife with heavy-duty blades is essential. A straightedge (like a long level or T-square) is crucial for guiding your cuts. For thicker rubber, a specialized rubber flooring cutter may be necessary.
| Tool | Description |
|---|---|
| Utility Knife | A heavy-duty utility knife with replaceable blades is the primary cutting tool. |
| Straightedge | A long, sturdy straightedge (metal is best) to guide your cuts and ensure straight lines. |
| Rubber Flooring Cutter | (Optional) For thicker rubber or large projects, a specialized cutter can make the job easier and more precise. |
| Chalk Line | (Optional) Useful for marking long, straight lines on the subfloor or rubber. |
| BYFIT Tip | Always use fresh, sharp blades when cutting rubber. Dull blades can tear the material and make it difficult to achieve clean, straight cuts. |
Do you need special adhesives for rubber flooring?
Confused by the different types of adhesives? Unsure which one is right for your project? Worried about using the wrong adhesive and ruining your floor?
Yes, you need a special adhesive designed for rubber flooring. These adhesives are formulated to bond with rubber and provide a strong, durable hold. The specific type of adhesive depends on the type of rubber flooring and the subfloor material.
| Adhesive Type | Description |
|---|---|
| Urethane Adhesive | A strong, durable adhesive commonly used for rubber flooring. It provides excellent moisture resistance. |
| Acrylic Adhesive | A versatile adhesive suitable for some types of rubber flooring. It’s generally easier to work with than urethane adhesive. |
| Epoxy Adhesive | A very strong adhesive often used in high-traffic or heavy-load areas. |
| Contact Adhesive | Used for some types of rubber flooring, especially tiles. It creates an instant bond. |
| BYFIT Recommendation | Always follow the flooring manufacturer’s recommendations for adhesive. Using the wrong adhesive can void the warranty and lead to installation failure. BYFIT can help you choose the right adhesive for your project! |
How to prepare your subfloor for rubber flooring installation?
Dreading this step? Thinking it might be too much work? Unsure where to even begin?
This is the MOST CRUCIAL step. Your subfloor must be perfectly flat (less than 2-3mm variation within a 2-meter straightedge), clean (no dust, debris, or old adhesive), and dry (moisture content below 3% or 2.5%, depending on the product). This often requires leveling compound, patching, and thorough cleaning. Many skip to test subfloor moisture which lead to bubbling and adhesive failure
| Step | Description |
|---|---|
| Cleaning | Remove all dust, debris, old adhesive, paint, and any other contaminants from the subfloor. |
| Leveling | Use a leveling compound to fill in any low spots and create a perfectly flat surface. Check with a long straightedge. |
| Patching | Repair any cracks or holes in the subfloor. |
| Moisture Testing | Use a moisture meter to ensure the subfloor’s moisture content is within the acceptable range for your chosen rubber flooring. This is crucial to prevent adhesive failure. |
| Acclimation | let the rubber flooring acclimate to the room, this step ensure a snug fit. |
How to Install Rubber Floor Rolls: A Step-by-Step Guide?
Feeling intimidated by the size and weight of rubber rolls? Worried about making mistakes that will be difficult to correct? Unsure how to handle seams?
Installing rubber floor rolls is more challenging than tiles. It requires precise measuring, cutting, and adhesive application. Handling seams properly is also crucial for a professional-looking result.
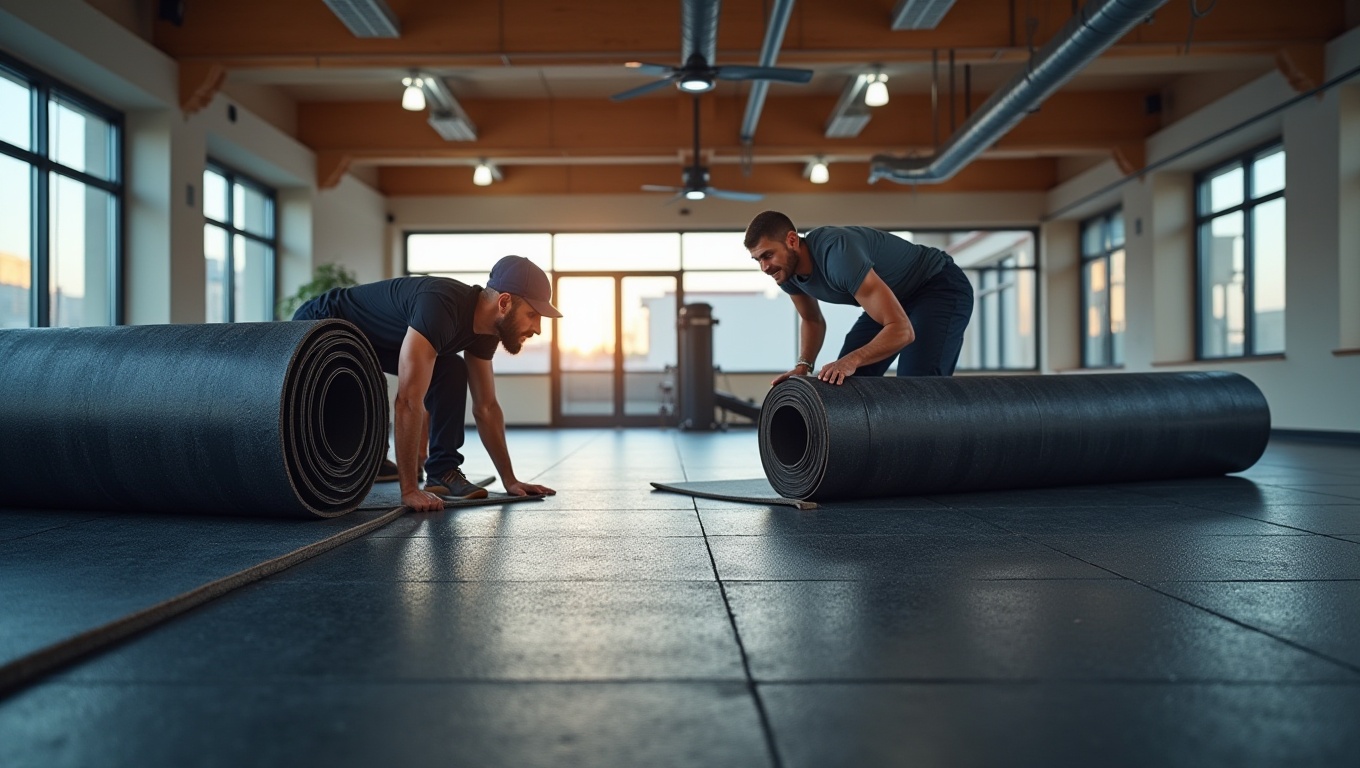 Rubber Floor Rolls Installation")
Let’s break it down.
How to measure and cut rubber floor rolls accurately?
Worried about wasting expensive material? Unsure how to account for walls and obstacles? Concerned about making crooked cuts?
Measure the room carefully, adding a few extra inches to each dimension for trimming. Use a chalk line to mark your cutting lines on the back of the rubber roll. Use a sharp utility knife and a straightedge to make clean, straight cuts.
- Measure: Measure the length and width of the room multiple times. Add extra inches for trimming.
- Transfer Measurements: Transfer the measurements to the back of the rubber roll.
- Mark Cutting Lines: Use a chalk line to mark clear, straight cutting lines.
- Cut: Use a sharp utility knife and a straightedge to carefully cut along the marked lines. Make multiple shallow passes rather than trying to cut through in one go.
What’s the best way to apply adhesive for rubber floor rolls?
Worried about wasting expensive material? Unsure how to account for walls and obstacles? Concerned about making crooked cuts?
Measure the room carefully9, adding a few extra inches to each dimension for trimming. Use a chalk line10 to mark your cutting lines on the back of the rubber roll. Use a sharp utility knife11 and a straightedge to make clean, straight cuts.
- Measure: Measure the length and width of the room multiple times. Add extra inches for trimming.
- Transfer Measurements: Transfer the measurements to the back of the rubber roll.
- Mark Cutting Lines: Use a chalk line to mark clear, straight cutting lines.
- Cut: Use a sharp utility knife and a straightedge to carefully cut along the marked lines. Make multiple shallow passes rather than trying to cut through in one go.
How to handle seams and transitions when installing rubber floor rolls?
Worried about visible seams? Unsure how to create a smooth transition to other flooring types? Concerned about tripping hazards?
For seams, you can use seam sealer or heat welding (which requires specialized tools and training). For transitions to other flooring types, use transition strips designed for rubber flooring.
- Seam Sealer: Apply a bead of seam sealer along the edge of one roll, then carefully butt the next roll against it. Wipe away any excess sealer.
- Heat Welding: (Professional Only) Requires specialized tools and training. Creates a strong, waterproof seam.
- Transition Strips: Use transition strips to create a smooth, safe transition between rubber flooring and other flooring types (carpet, tile, etc.).
How to Install Rubber Floor Tiles: A Step-by-Step Guide?
Thinking tiles might be the easier option? Wondering if you can really do this yourself? Excited about the possibilities?
Rubber floor tiles, especially interlocking tiles, are generally more DIY-friendly than rolls. They’re easier to handle, cut, and install, making them a good choice for smaller spaces and beginners.
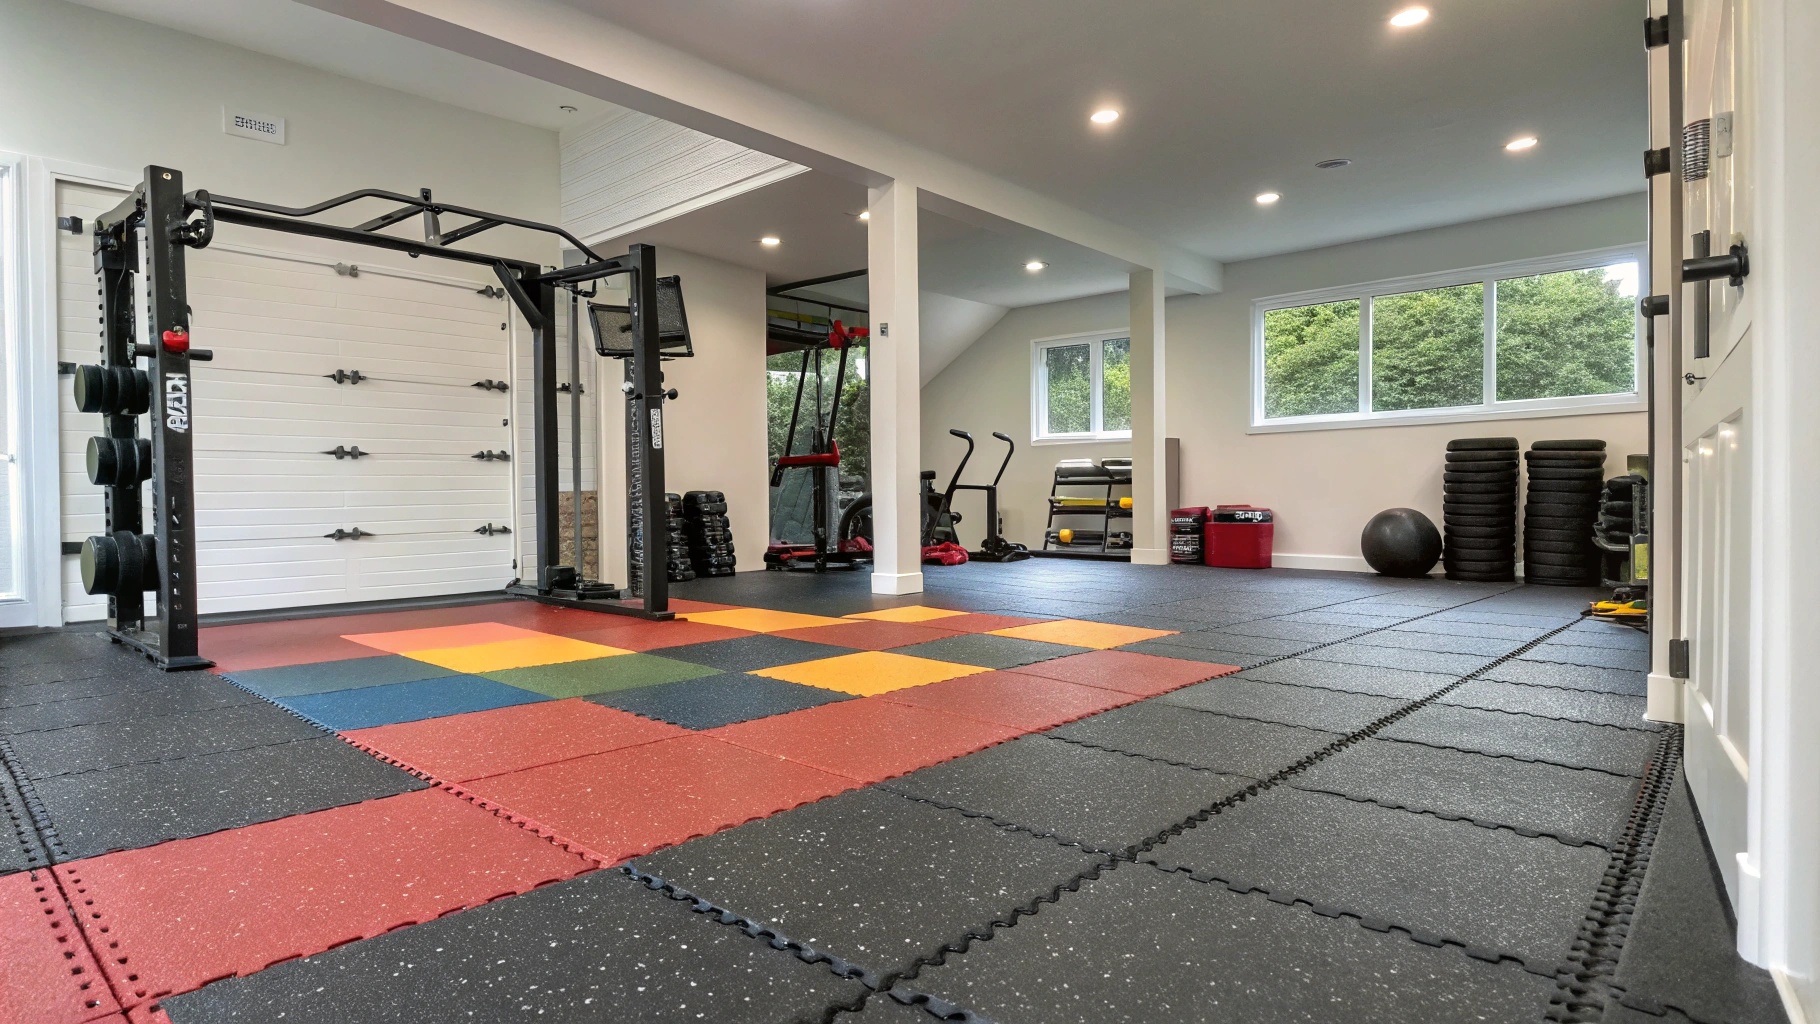 Rubber Floor Tiles Installation
Let’s get started.
What’s the best pattern for laying rubber floor tiles?
Want a visually appealing layout? Unsure which pattern is best for your space? Concerned about minimizing waste?
The most common pattern is a simple brick pattern (offsetting each row by half a tile). This minimizes waste and creates a strong, stable floor. Other options include a straight grid or a diagonal pattern.
- Brick Pattern1: The most popular and practical choice. Easy to install and minimizes waste.
- Straight Grid: A simple, clean look. Can make a small room feel larger.
- Diagonal Pattern: Adds visual interest but requires more cutting and can result in more waste.
How to ensure tight seams between rubber floor tiles?
Worried about gaps between tiles? Unsure how to get a professional-looking finish? Concerned about the tiles shifting over time?
Interlocking tiles are designed to fit together tightly. For non-interlocking tiles, use a rubber mallet to tap them into place, ensuring a snug fit. You can also use a small amount of adhesive along the edges for added security.
- Interlocking Tiles: Carefully align the interlocking edges and press the tiles together firmly.
- Non-Interlocking Tiles: Use a rubber mallet to gently tap the tiles into place, ensuring a tight fit.
- Adhesive (Optional): For added security, especially in high-traffic areas, you can apply a small bead of adhesive along the edges of the tiles.
Can you install rubber floor tiles over existing flooring?
Hoping to avoid the hassle of removing your old floor? Wondering if it’s even possible? Concerned about damaging the existing floor?
In some cases, you can install rubber floor tiles over existing flooring, BUT the existing floor must be perfectly level, clean, and securely attached. It’s generally NOT recommended to install over carpet or cushioned vinyl.
- Acceptable Subfloors2: Concrete, ceramic tile, hardwood (if in good condition and perfectly level).
- Unacceptable Subfloors: Carpet, cushioned vinyl, any uneven or damaged flooring.
- Preparation: Even if the existing floor is acceptable, it must be thoroughly cleaned and any loose areas must be repaired.
How to Maintain and Clean Your Newly Installed Rubber Flooring?
Want to keep your new floor looking its best? Unsure what cleaning products to use? Concerned about damaging the rubber?
Regular cleaning with a pH-neutral cleaner is essential. Avoid harsh chemicals, solvents, and abrasive cleaners. Protect your floor from heavy furniture and sharp objects.
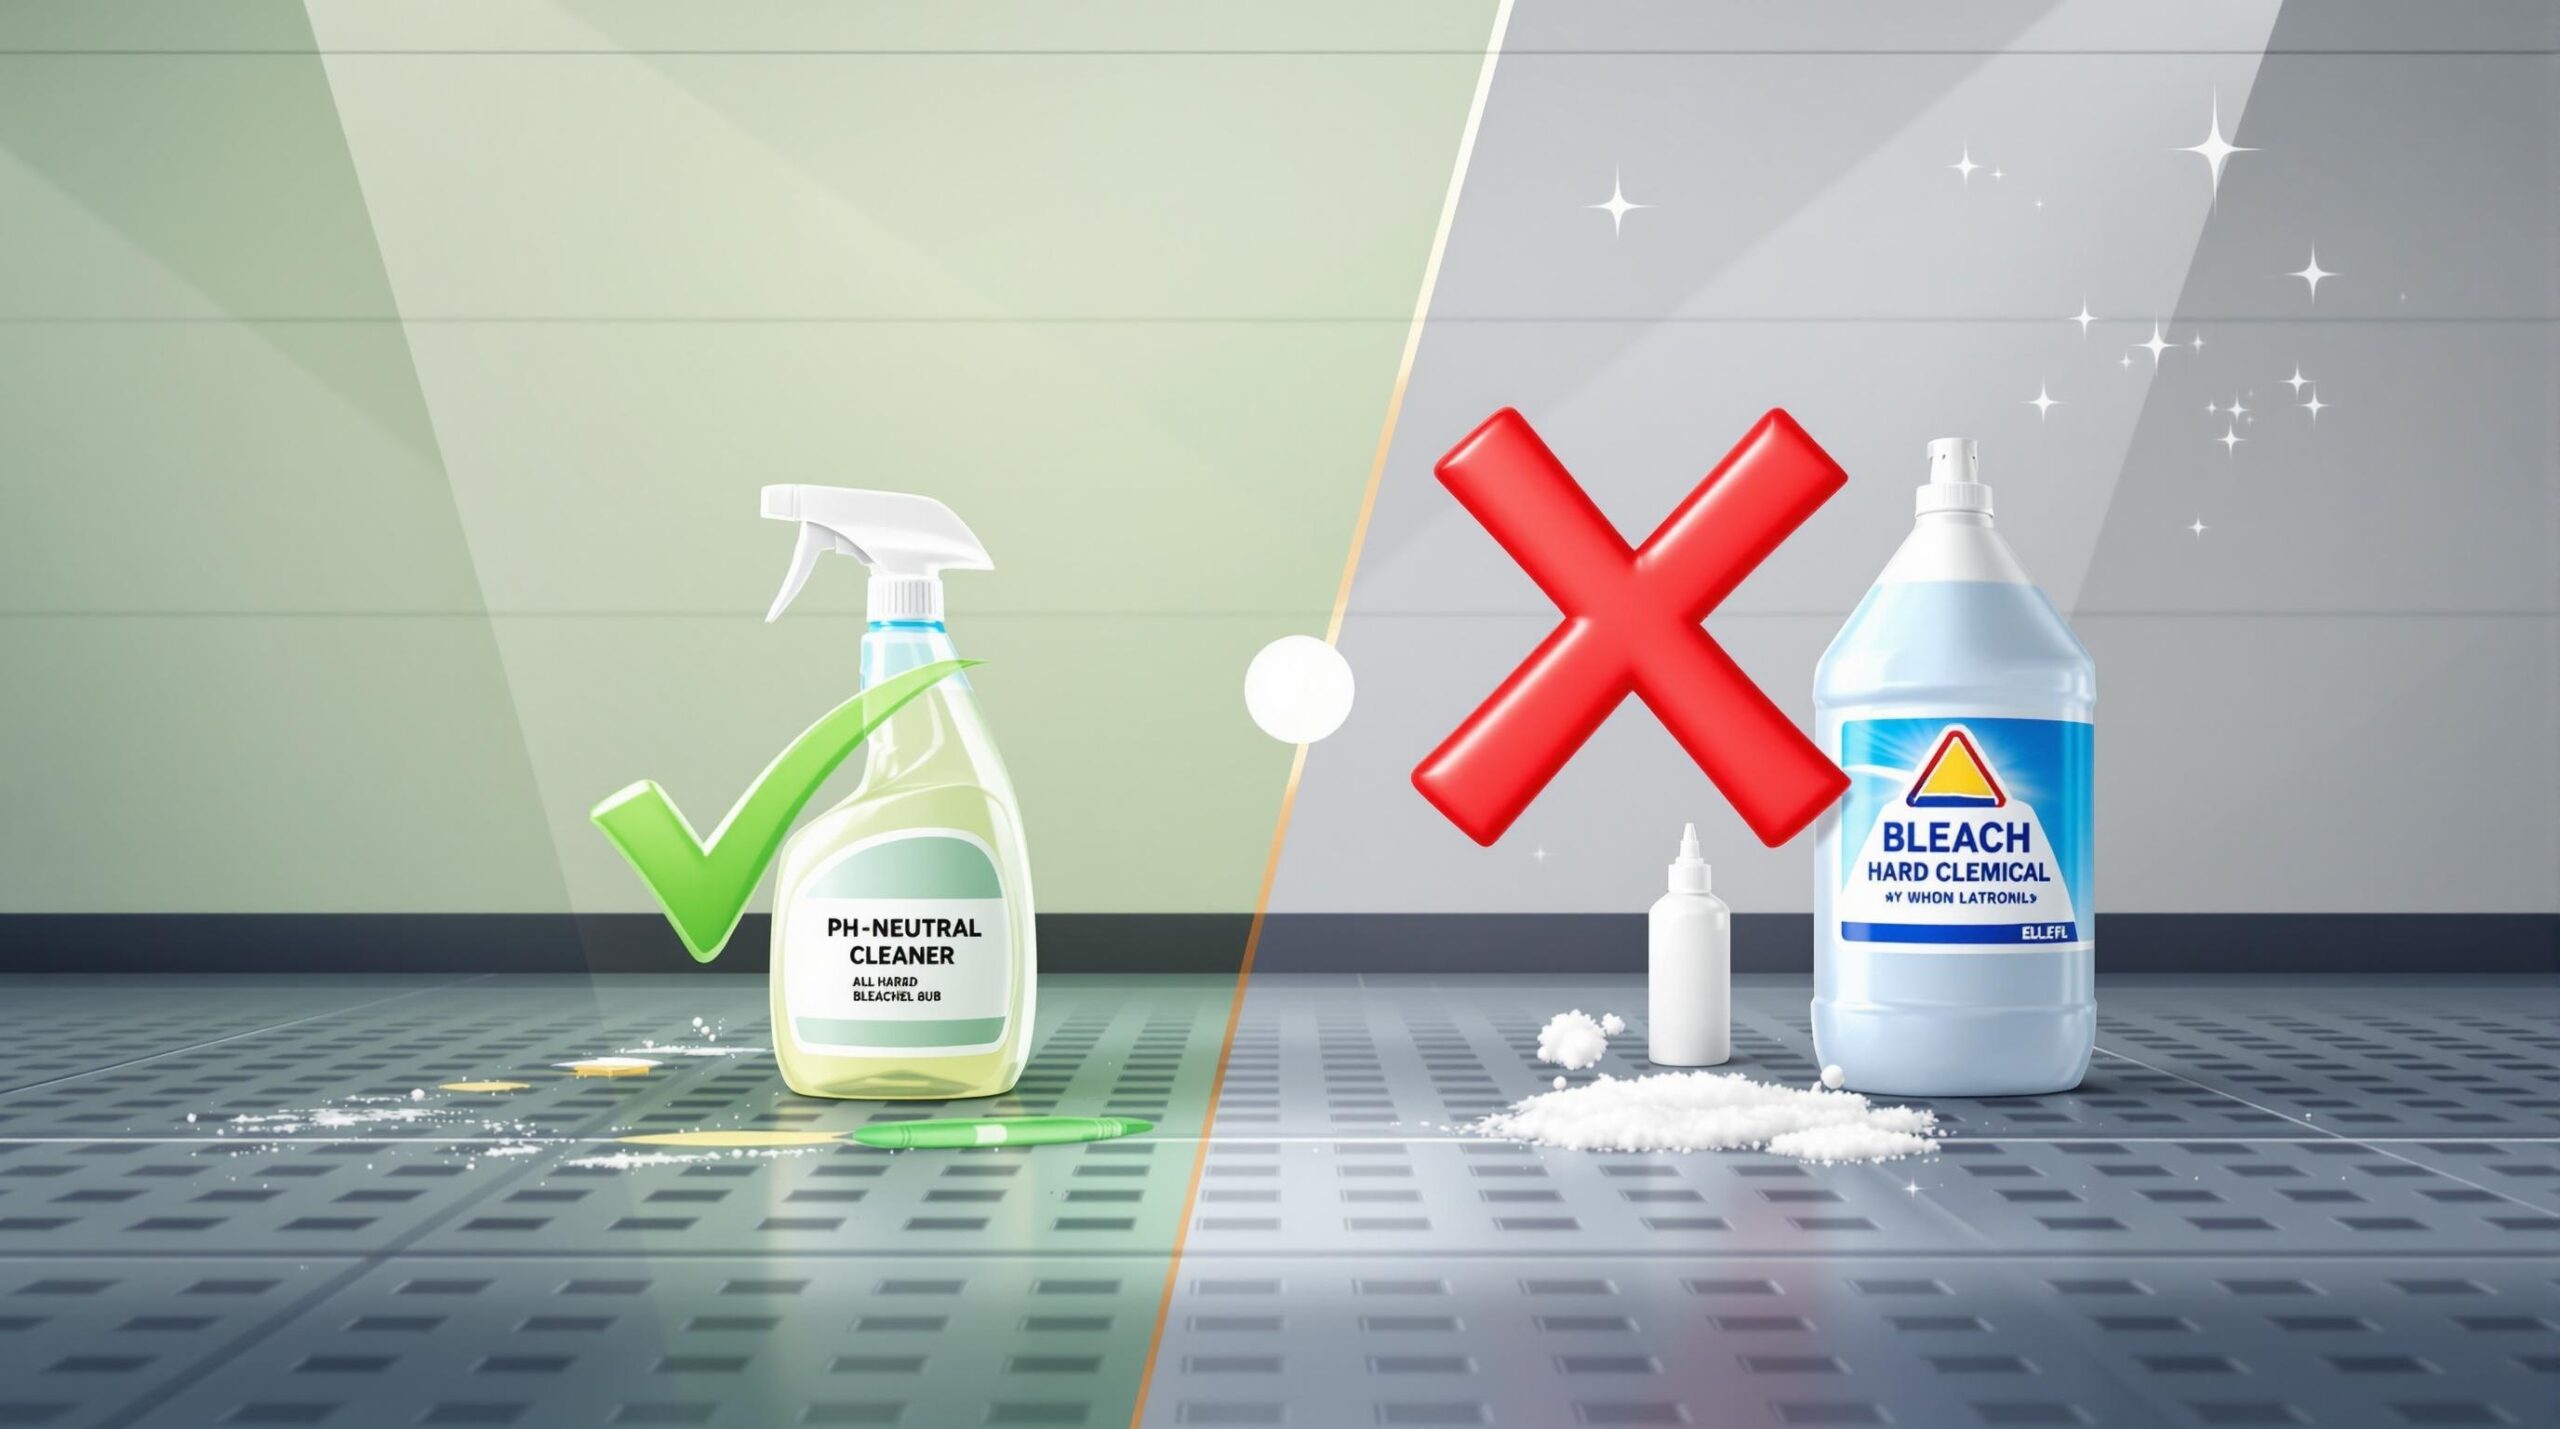 Rubber Flooring Maintenance
Let’s explore the details.
What are the best cleaning products for rubber flooring?
Worried about using the wrong cleaner and damaging your floor? Unsure what "pH-neutral" even means? Confused by all the options?
Use a pH-neutral cleaner12 specifically designed for rubber flooring. Avoid bleach, ammonia, and strong detergents. You can also use a mild solution of water and vinegar13.
- pH-Neutral Cleaner: Look for cleaners labeled as "pH-neutral" or specifically designed for rubber flooring.
- Water and Vinegar: A mild solution of water and white vinegar can be used for routine cleaning.
- Avoid: Harsh chemicals, solvents, abrasive cleaners, oil-based cleaners.
How often should you clean your rubber flooring?
Wondering how much maintenance is really required? Unsure how often to mop or vacuum? Concerned about neglecting your floor?
The frequency of cleaning depends on the amount of traffic and use. In general, sweep or vacuum regularly (at least once a week) and mop with a damp mop as needed (usually weekly or bi-weekly).
- High-Traffic Areas: Clean more frequently, possibly daily.
- Low-Traffic Areas: Clean less frequently, weekly or bi-weekly.
- Spills: Clean up spills immediately to prevent staining.
How to prevent damage and extend the life of your rubber flooring?
Want your investment to last? Concerned about scratches, dents, and other damage? Unsure how to protect your floor?
Use furniture pads14 under heavy furniture. Avoid dragging heavy objects across the floor. Use mats at entrances to trap dirt and debris. Consider using a sealant to protect the rubber from stains and wear.
- Furniture Pads: Place felt pads under the legs of furniture to prevent scratches and dents.
- Avoid Dragging: Lift and carry heavy objects rather than dragging them across the floor.
- Entrance Mats: Use mats at entrances to trap dirt and debris, preventing them from being tracked onto the rubber flooring.
- Sealant (Optional): Consider using a sealant specifically designed for rubber flooring to provide an extra layer of protection against stains and wear.
Conclusion
Installing rubber flooring can be a rewarding DIY project, especially with interlocking tiles. However, proper planning, meticulous subfloor preparation, and the right tools are crucial. For large areas or rolled rubber, professional help might be your best fit!
-
Explore the advantages of rubber flooring to see why it’s a great choice for DIY enthusiasts. ↩ ↩
-
Learn how interlocking tiles can make your flooring project easier and more efficient. ↩ ↩
-
Understanding subfloor preparation is crucial for a successful flooring installation; find out why! ↩
-
Explore the advantages of DIY rubber flooring installation, including cost savings and control over your project. ↩
-
Learn how DIY projects can lead to significant cost savings, especially in flooring installation. ↩
-
Find comprehensive installation guides that can help you achieve professional results in your DIY projects. ↩
-
Understanding subfloor preparation is crucial for a successful flooring project. Explore expert tips to ensure a solid foundation. ↩
-
Discover safe handling techniques for heavy materials to prevent injury and ensure a smooth installation process. ↩
-
Accurate measurements are crucial for a successful flooring project. Explore this resource for expert tips on measuring your space effectively. ↩
-
Using a chalk line can significantly improve your cutting accuracy. Check out this guide to learn the best techniques for using a chalk line. ↩
-
Choosing the right utility knife can make a big difference in your cutting efficiency. Discover the best options for cutting rubber flooring. ↩
-
Understanding pH-neutral cleaners is crucial for maintaining your rubber flooring without damage. Explore this link for detailed insights. ↩
-
Discover the effectiveness and safety of using water and vinegar for cleaning rubber flooring. This resource can guide you on proper usage. ↩
-
Learn how furniture pads can prevent scratches and extend the life of your rubber flooring. This link provides valuable tips for floor care. ↩

](https://www.byfitgear.com/wp-content/uploads/2025/02/DIY-Gym-Flooring-Installation.jpeg)

