
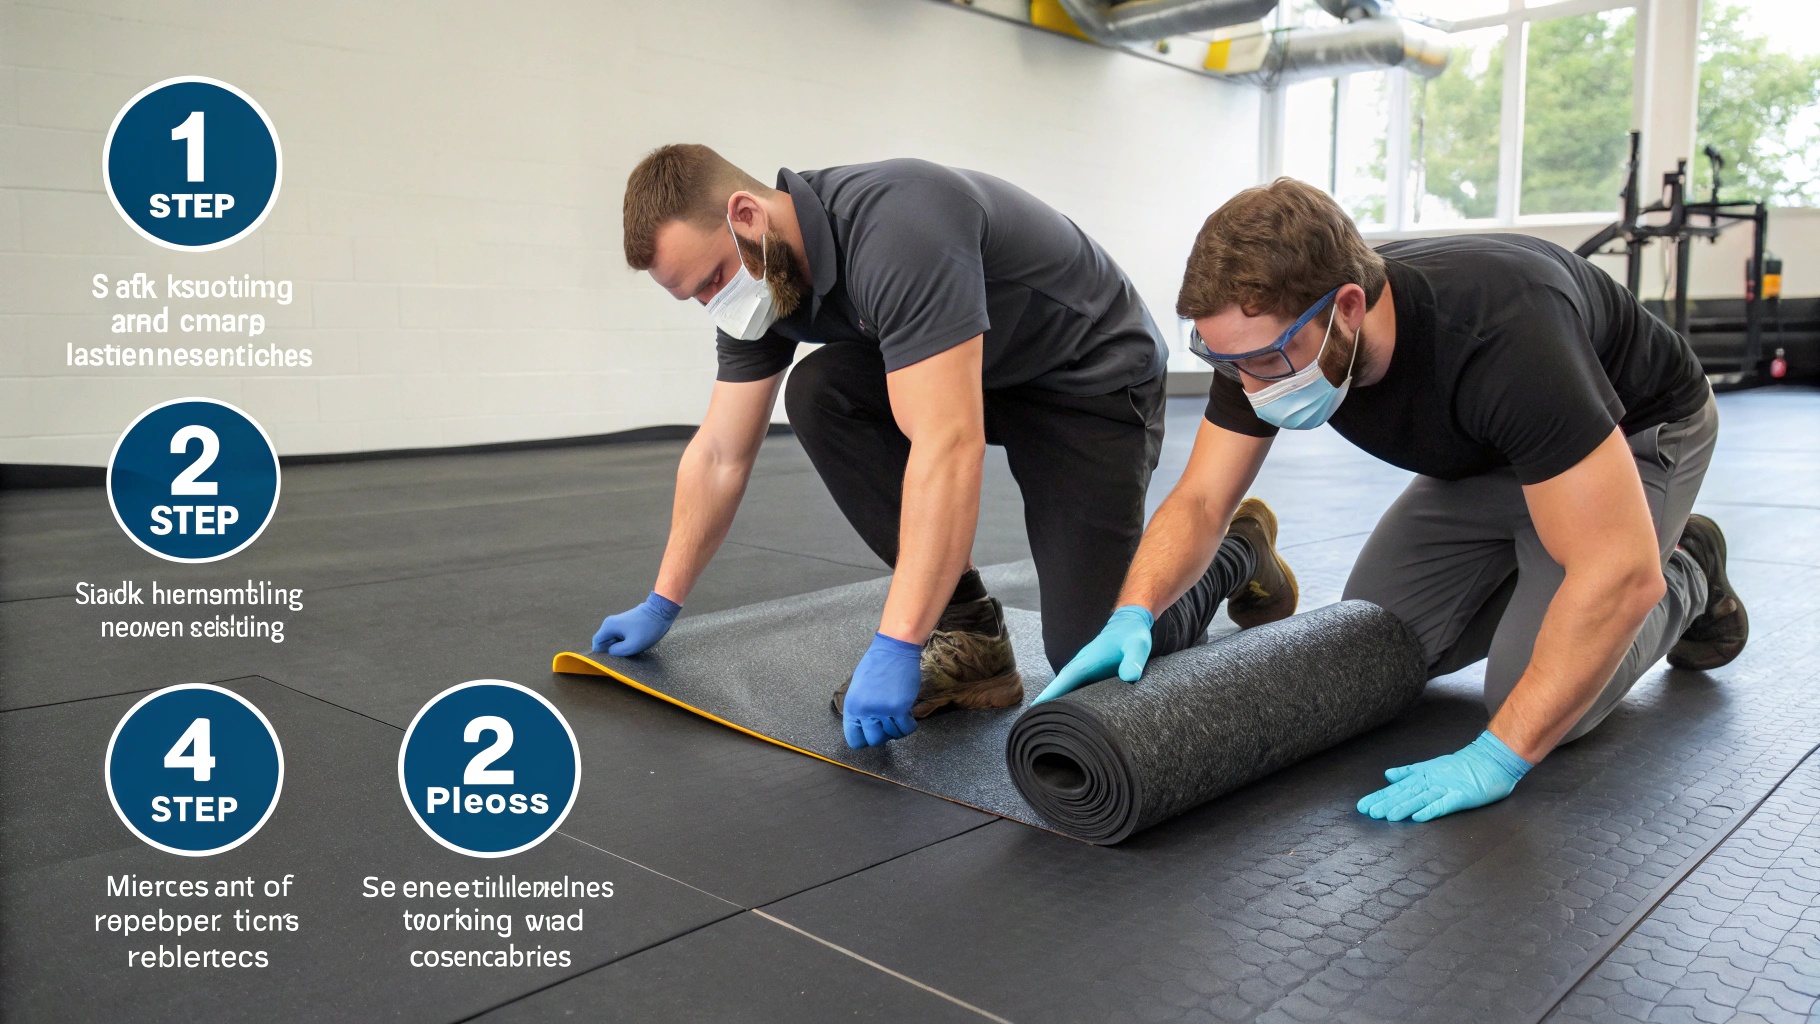
](https://byfitgear.com/wp-content/uploads/2025/02/Rubber-Floor-Rolls-Installation.jpeg)
It’s a valid concern, especially when investing in quality products—the complexity of installing rubber gym flooring and the potential for mistakes. Worried about getting it wrong?
The good news is, installing rubber gym flooring can be surprisingly straightforward! With a bit of planning and the right techniques, you can achieve a professional-looking and long-lasting result, often without needing professional help. We will explore it!
 Rubber Gym Flooring Installation
Let’s break down the installation process, it’s not as daunting as you might think. Keep reading, and you’ll discover simple yet effective methods that make the whole job manageable.
How Do You Install Rubber Gym Flooring Rolls?
Feeling overwhelmed at the thought of wrestling with heavy, unwieldy rubber rolls? Many people worry that they’ll end up with a lumpy, uneven mess.
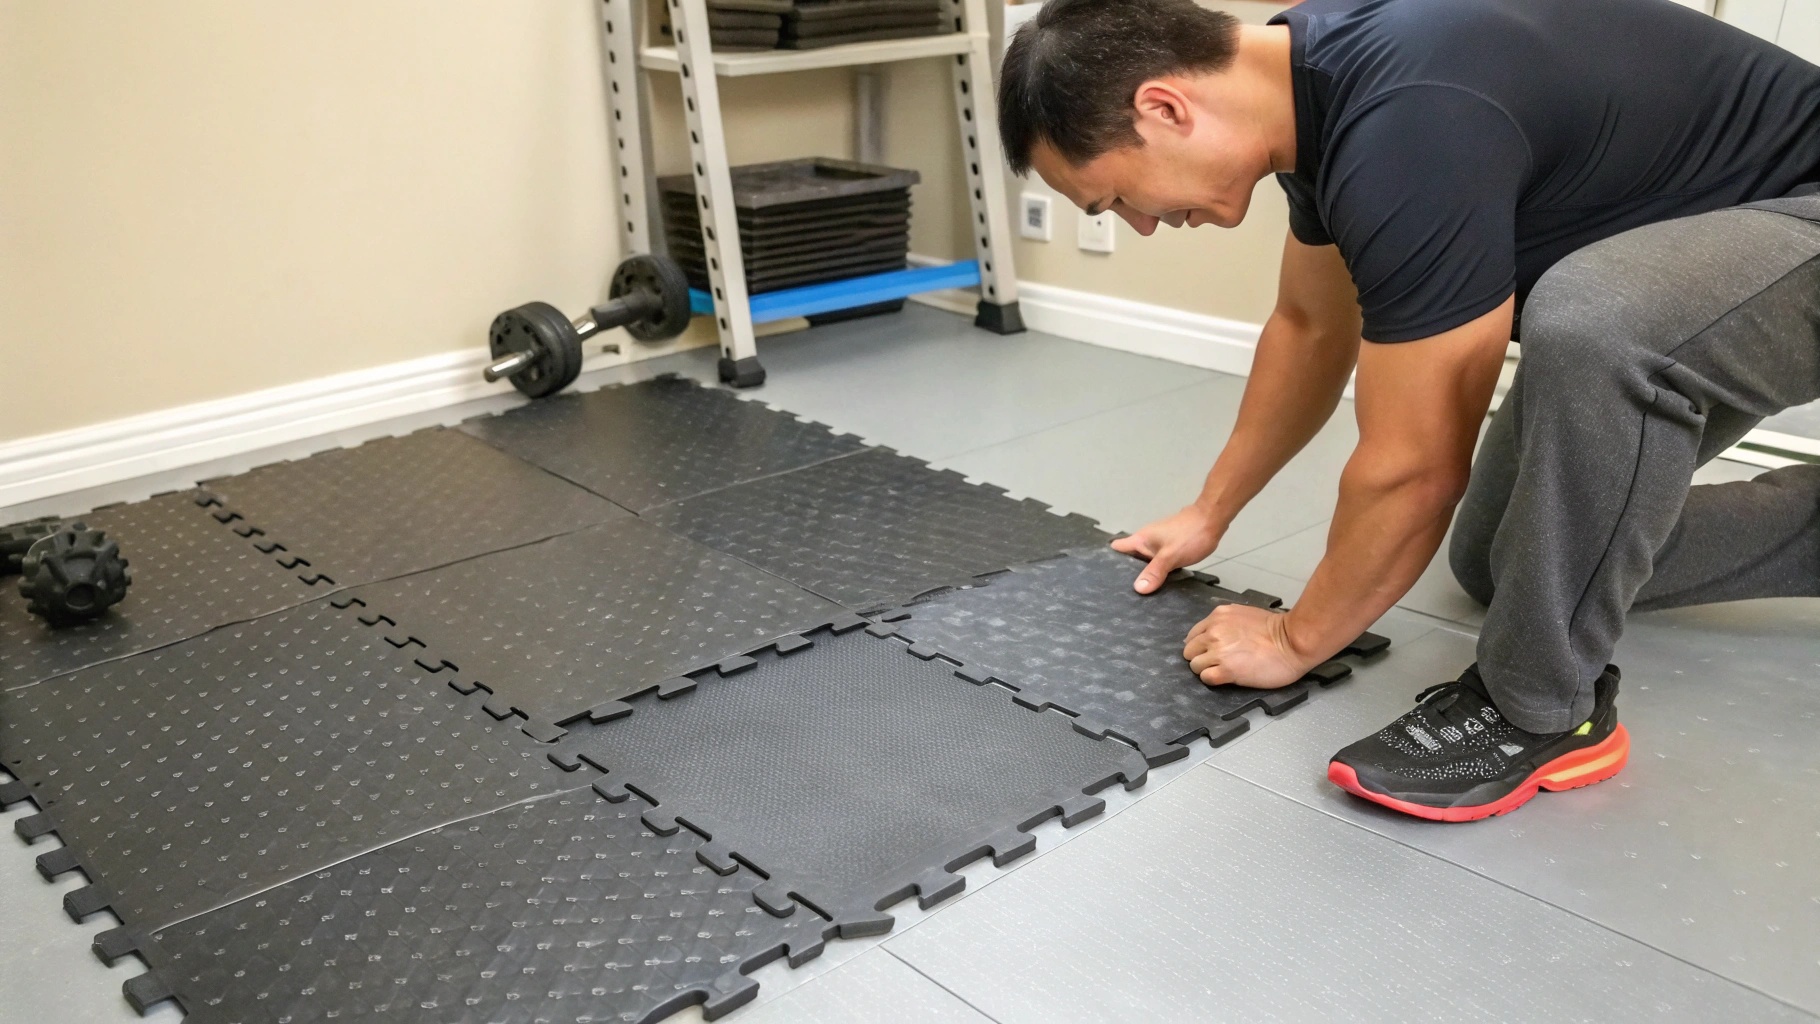
Actually, installing rubber rolls is manageable with a few key steps: acclimate the rolls, prepare the subfloor, roll out and trim the material, then secure it in place. Proper preparation is the foundation of success!
 Installing Rubber Gym Flooring Rolls
Let’s dive into how to install rubber gym flooring rolls1. It’s simpler than you think.
Step-by-Step Installation Guide
| Step | Description | Tools Needed |
|---|---|---|
| 1. Acclimation | Let the rolls sit in the gym space for at least 24 hours. This helps the rubber adjust to the room’s temperature and humidity, making installation easier. BYFIT also reminds you, to check color consistency. | None |
| 2. Subfloor Prep | Clean the subfloor thoroughly. Remove any dust, debris, or old adhesive. Ensure it’s smooth and level. | Broom, vacuum, scraper, leveling compound (if needed) |
| 3. Roll Out | Starting from one corner, carefully unroll the first roll. Allow it to relax and flatten. | None |
| 4. Trimming | Use a sharp utility knife and a straight edge to trim the roll to fit the room’s dimensions. Make precise cuts for a clean look. | Utility knife, straight edge, measuring tape |
| 5. Seam Placement | Position subsequent rolls tightly against the first, ensuring seams are snug. Avoid gaps or overlaps. | None |
| 6. Securing | Depending on the thickness and usage, you might use double-sided tape or adhesive for added stability. Follow the manufacturer’s recommendations. BYFIT, also remind you do edge sealing. | Double-sided tape or adhesive, sealant |
| 7.Final Touches | Once all rolls are in place, consider adding transition strips2 at doorways for a finished look and added safety. Also can using Acoustic underlayment. | Transition Strips,Acoustic underlayment |
Remember, when I first started BYFIT, I spent countless hours on job sites, learning the ins and outs of flooring installation. This table mirrors the lessons I learned, streamlined for easy understanding.
How Do You Cut Rubber Gym Flooring?
Concerned about making clean, precise cuts in thick rubber flooring? Many people worry about jagged edges or ruining expensive material.
The key is using a sharp utility knife3, a straight edge, and making multiple, shallow passes rather than trying to cut through in one go. Also remember measure twice,cut once!
](https://www.byfitgear.com/wp-content/uploads/2025/03/a5f91b6b-6c70-4382-8100-747cd4cab4af.jpeg) Cutting Rubber Gym Flooring
Cutting Rubber Gym Flooring
Cutting rubber gym flooring might seem tough, but with these tips, you’ll find it’s pretty manageable.
Cutting Techniques and Tips
| Technique | Description | Best For |
|---|---|---|
| Straight Cuts | Use a long straight edge (like a metal ruler or level) as a guide. Score the rubber lightly with a utility knife, then repeat several times to cut through. | Long, straight edges of rolls or tiles. |
| Intricate Cuts | For curves or corners, use a sharp utility knife and make short, controlled cuts. Work slowly and carefully. | Around equipment, corners, or doorways. |
| Scoring and Snapping | For thinner rubber (like some tiles), score deeply with a utility knife, then bend the material along the score line to snap it cleanly. | Thinner rubber tiles (usually under 8mm). |
| Power Tools | A jigsaw or circular saw with a fine-tooth blade can be used, but exercise extreme caution and test on a scrap piece first. | Large volumes of cutting (use with caution). |
BYFIT Pro Tip: Always use a fresh, sharp blade. A dull blade will tear the rubber rather than cutting it cleanly. Change blades frequently!
Can I Install Rubber Flooring Myself?
Worried that installing rubber flooring is a job best left to the professionals, requiring specialized skills and tools?
In many cases, you absolutely can install rubber flooring4 yourself! It’s often a manageable DIY project5, especially with interlocking tiles6 or thinner rolls. For large areas it is best to install with your friends.
 DIY Rubber Flooring Installation
If you are doubting your DIY skills, don’t worry. Installing rubber flooring is often easier than you think!
DIY Considerations
| Factor | DIY-Friendly? | Notes |
|---|---|---|
| Flooring Type | Yes/No | Interlocking tiles are the easiest for DIY. Rolls can be manageable, but larger rolls may require assistance. |
| Subfloor Condition | Yes | A clean, level subfloor is crucial. If your subfloor needs significant prep work (leveling, patching), it might add to the complexity. |
| Room Size | Yes/No | Smaller rooms are generally easier to handle. Larger spaces might be more time-consuming and require more precise cutting and fitting. |
| Physical Ability | Yes/No | Rubber flooring can be heavy, especially rolls. You’ll need to be able to lift, move, and maneuver the material. |
| Tools & Experience | Yes | Basic tools (utility knife, straight edge, tape measure) are usually sufficient. Some experience with DIY projects is helpful, but not always essential. |
| Time | Yes | Do you have enough time to install rubber flooring?Make sure you have enough time to finish installing your floors before you start installing them, otherwise your gym may not be ready in time! |
Think about the time I installed flooring in my first small warehouse. It was just me and a friend, and while it took a bit longer, we saved a significant amount by doing it ourselves.
How to Lay Rubber Gym Flooring?
Unsure about the proper technique for laying rubber gym flooring7 to ensure a smooth, even surface without gaps or bumps?
Start with a clean, level subfloor, carefully unroll or place the flooring, and use a straight edge to ensure tight seams. Proper layout is essential to success.
Let’s dive into some key considerations to help you tackle this project with confidence.
Laying Techniques for Different Flooring Types8
| Flooring Type | Laying Technique | Tips |
|---|---|---|
| Rolls | Start in one corner, unroll the material, and let it relax. Trim to fit, ensuring tight seams with adjacent rolls. Use double-sided tape or adhesive if needed. | Overlap edges slightly, then cut through both layers for a perfect seam. |
| Interlocking Tiles | Begin in a corner and work your way out, connecting tiles according to the manufacturer’s instructions. Use a rubber mallet to tap tiles firmly into place. | Stagger seams for a more natural look and added stability. |
| Square Tiles | Similar to interlocking tiles9, but may require adhesive. Plan the layout carefully to minimize cuts and ensure a symmetrical appearance. | Use a chalk line to mark guidelines on the subfloor. |
| Loose Lay | This type of flooring is usually used when you are laying gym floor on the ground floor, it does not require additional glue to fix. | But in order to be more solid, we recommend the use of double-sided adhesive tape connection. |
Remember, careful planning and attention to detail are key to a successful installation.
Do I Need to Glue Down Rubber Gym Flooring?
Wondering whether glue is essential for securing rubber gym flooring, or if there are alternative methods that might be easier or more suitable for your situation?
The need for glue depends on the flooring type, thickness, and usage. Thinner materials and high-traffic areas often require adhesive, while thicker, interlocking tiles might be fine without.
Let’s explore when glue is necessary and when you can skip it.
Glue vs. No Glue: Factors to Consider
| Factor | Glue Recommended? | Notes |
|---|---|---|
| Flooring Type | Varies | Thin rolls and sheets almost always need glue. Interlocking tiles often don’t, but it depends on the manufacturer’s recommendations. |
| Thickness | Varies | Thinner materials (under 8mm) generally need glue for stability. Thicker materials (10mm and above) are often heavy enough to stay in place without. |
| Usage | Yes/No | High-traffic areas, spaces with heavy equipment, or areas prone to shifting (like CrossFit boxes) usually benefit from glue. |
| Subfloor Type | Varies | Glue adhesion can vary depending on the subfloor (concrete, wood, etc.). Always check the adhesive manufacturer’s recommendations for compatibility. |
| Permanent vs. Temporary | Yes/No | If you want the option to easily remove or relocate the flooring in the future, avoid glue. Use double-sided tape10 as a less permanent alternative. Or you can use loose lay! |
Even in my factory today, we have areas where we’ve glued down the flooring and others where we haven’t. It really depends on the specific use case.
Conclusion
Installing rubber gym flooring can range from a simple DIY project to a more involved process. Knowing the right techniques for your specific flooring type, and when to use glue, will set you up. Choose BYFIT to make your gym floor perfect!
-
Explore this resource to gain expert insights and tips for a successful rubber gym flooring installation. ↩
-
Learn about the importance of transition strips in flooring projects and how they contribute to a polished finish. ↩
-
Explore this link to find top-rated utility knives that ensure clean cuts for your rubber flooring projects. ↩
-
Explore this resource to learn step-by-step instructions and tips for a successful DIY rubber flooring installation. ↩
-
Discover a variety of DIY projects that can enhance your home, including rubber flooring installation tips and tricks. ↩
-
Find out why interlocking tiles are a popular choice for DIY flooring projects and how they can simplify your installation process. ↩
-
Explore this resource to learn expert techniques for installing rubber gym flooring effectively, ensuring a professional finish. ↩
-
This link will provide you with comprehensive insights into various flooring laying techniques, enhancing your installation skills. ↩
-
Discover detailed instructions and tips for installing interlocking tiles, ensuring a seamless and durable floor. ↩
-
Discover how double-sided tape can be a practical alternative for flooring installation, offering flexibility and ease of removal. ↩