
](https://byfitgear.com/wp-content/uploads/2025/02/Rubber-Floor-Rolls-Installation.jpeg)
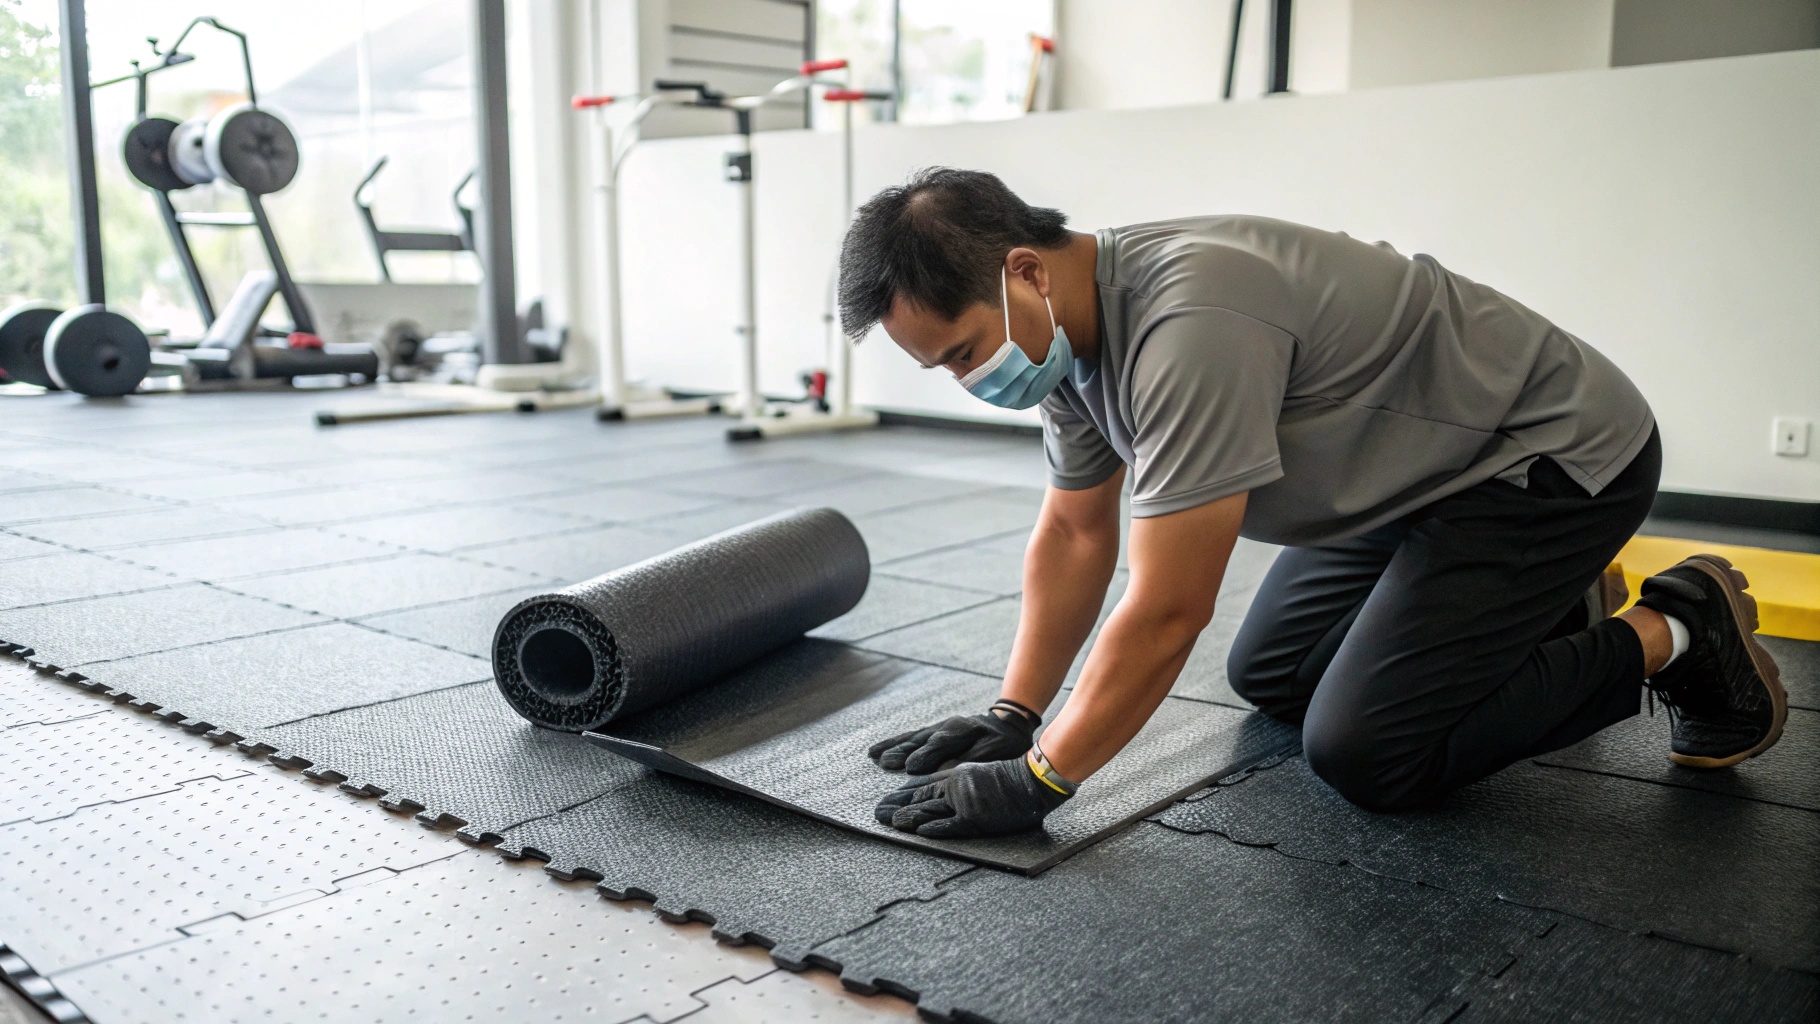
Thinking about installing gym rubber flooring yourself? You’ve set up your home gym, excited to start lifting. But weeks later, the rubber floor shifts and buckles. It’s a common, frustrating, and potentially dangerous problem.
Yes, you can. But, it’s not just about laying mats. It’s about long-term stability, safety, and performance. Many DIY attempts fail due to overlooked subfloor issues, material acclimatization, and improper adhesion.
](https://www.byfitgear.com/wp-content/uploads/2025/02/DIY-Gym-Flooring-Installation.jpeg) DIY gym rubber flooring
DIY gym rubber flooring
Seeming simple, a successful installation is more than assembly. Let’s explore the true steps to a floor that lasts.
How Do You Install Rubber Gym Flooring?
What if your perfectly fitted, level gym flooring warped and became uneven just weeks after installation? This isn’t just about aesthetics; it impacts your workout and safety. Proper installation isn’t just a suggestion; it’s a necessity.
To install rubber gym flooring1 correctly, first prepare the subfloor: level and clean it. Let the rubber acclimate for 24-48 hours. Then, choose loose lay, tape, or glue, depending on your gym’s needs. Proper preparation is the key!
 Rubber Gym Flooring Installation
Let’s break down the steps. Doing it right saves time and money.
How to Prepare the Subfloor?
- Clean: Remove dust, debris, and old adhesive. A clean surface is crucial for bonding.
- Level: Check for unevenness. Use a self-leveling compound to fix dips or high spots. Even small imperfections matter.
- Dry: Ensure the subfloor is completely dry. Moisture weakens adhesives and damages rubber.
How to Acclimatize Rubber Flooring?
- Unroll or unpack the flooring.
- Let it sit in the gym space for 24-48 hours.
- This lets the material adjust to temperature and humidity, preventing later issues.
What are the Different Installation Methods?
- Loose Lay: Best for low-impact areas. Simply lay the mats or tiles, tightly butted.
- Tape: Use double-sided tape around the perimeter and seams. Good for moderate use.
- Glue: Apply urethane adhesive2 for a permanent bond. Ideal for high-traffic areas.
- Interlocking Tiles: Simply connect the tiles together.
How to Cut and Fit Rubber Flooring?
Use a sharp utility knife and a straight edge to cut the rubber around walls and obstacles.
| Method | Pros | Cons | Best For |
|---|---|---|---|
| Loose Lay | Easy, quick, no adhesive needed | Less stable, may shift | Low-impact areas, home gyms |
| Double-Sided Tape | More stable than loose lay, semi-permanent | Can lose adhesion over time, not for heavy use | Moderate use, small gyms |
| Urethane Adhesive | Most stable, permanent | Harder to install, requires skill, permanent | High-traffic areas, commercial gyms, Crossfit |
| Interlocking Tiles | Easy to install, good stable | Seams maybe obvious, not for heavy use | Home gyms, small gyms |
BYFIT offers a complete line of gym rubber flooring3 products that may be just what you’re looking for in quality, durability, and even customizability. Contact us: [email protected]
What Do You Put Under Rubber Gym Flooring?
Have you considered what lies beneath your gym floor? You might think any surface will do, but a shifting, unstable gym floor can ruin your workout and even cause injury. The wrong base creates problems; the right one ensures stability and longevity. It’s not just about what’s on top, but what supports it.
The best base is a clean, level, stable4subfloor5: concrete, plywood, or existing hard flooring. Never put rubber directly over carpet6; it’s unstable and traps moisture.
](https://www.byfitgear.com/wp-content/uploads/2025/03/help-prevent-mold-from-growing-under-rubber-mats-v0-bbqrkrf3kgab1.png) Under Rubber Gym Flooring
Under Rubber Gym Flooring
The right foundation is key. Let’s examine subfloor options.
What are the Best Subfloor Options?
- Concrete7: The most common and ideal. It’s strong, stable, and a solid base. Ensure it’s clean, level, and crack-free.
- Plywood8: A good option if installed correctly. Use a minimum 3/4 inch thickness, securely fastened. Avoid particleboard or OSB.
- Existing Hard Flooring9: You can install over tile, vinyl, or hardwood, if it’s in good condition, level, and secure.
- Carpet: Not recommended. It’s unstable, traps moisture, and leads to mold.
| Subfloor Type | Advantages | Disadvantages |
|---|---|---|
| Concrete | Strong, stable, durable | Can be cold, requires proper sealing |
| Plywood | Cost-effective, provides some cushioning | Requires careful installation, susceptible to moisture damage |
| Existing Tile | Convenient if in good condition | Can be slippery, may require additional preparation |
| Carpet | Never use,Traps moisture, unstable, and can cause problems | Never use, soft and unstable,bacteria, odors, and mold can accumulate. |
BYFIT’s mission is dedicated to providing different types of customers rubber gym flooring product. We also want to help customers to maximize the benefits,website: https://byfitgear.com/.
How Do You Keep Rubber Gym Floors from Moving?
What happens when your gym floor starts shifting mid-workout? It’s distracting, frustrating, and unsafe. A stable floor isn’t a luxury; it’s essential for a good workout. The right method keeps everything in place.
To prevent movement, use double-sided tape10, urethane adhesive11, or interlocking tiles12. The choice depends on usage and flooring type. For high-traffic, adhesive is best. For home gyms, tape or interlocking may suffice.
](https://www.byfitgear.com/wp-content/uploads/2025/03/keep-rubber-gym-floors-from-moving-1.jpg) Keep Rubber Gym Floors from Moving
Keep Rubber Gym Floors from Moving
Choosing the right method is crucial. Let’s explore each.
What are the Best Ways to Stabilize Rubber Flooring?
- Double-Sided Tape: Good for light/moderate use. Easy to apply/remove. Place it around the perimeter and seams.
- Interlocking Tiles: Simply connect the tiles together.
- Urethane Adhesive: Creates a permanent bond. Best for heavy use/high-traffic. Requires careful application, difficult to remove.
- Weight of the flooring: If thick enough (over 15mm), the weight can keep it in place.
| Method | Pros | Cons | Best For |
|---|---|---|---|
| Double-Sided Tape | Easy to apply, removable | Less durable, may need reapplication | Light to moderate use, home gyms |
| Urethane Adhesive | Permanent bond, very stable | Difficult to apply and remove, requires more skill | Heavy use, high-traffic areas, commercial gyms |
| Interlocking Tiles | Easy to install, good stable | Seams maybe obvious, not for heavy use | Home gyms, small gyms |
| Flooring Weight | Simple, no extra materials needed | Only suitable for very thick flooring | Areas with very heavy equipment, powerlifting zones |
BYFIT gym rubber flooring is known for its durability and high value for money. If you have any questions, please contact me at Whatsapp:+8618353381773.
How Long Do Rubber Mats Last?
Are you treating your gym flooring as a long-term investment? Cheap mats, like cheap shoes, wear out quickly, costing more in the long run. Durability isn’t just about saving money; it’s about consistent performance and avoiding replacements.
Rubber mats typically last 5-10 years13, depending on quality, thickness, usage, and maintenance. High-quality, thicker mats, well-maintained in a home gym, can last longer. Commercial gyms may need replacements sooner.
](https://www.byfitgear.com/wp-content/uploads/2025/03/9ee861b5-59cb-4162-b5a3-8209c9197c9f.jpeg) Rubber Mats Life
Rubber Mats Life
Understanding lifespan aids planning. Let’s consider durability factors.
What Factors Affect Rubber Flooring Durability?
- Quality: Higher-quality rubber (virgin or high % recycled) lasts longer.
- Thickness: Thicker mats (8mm+) withstand heavy use better.
- Usage: Home gym floors last longer than commercial ones.
- Maintenance: Regular cleaning extends lifespan14.
- Subfloor: A proper subfloor prevents premature wear.
| Factor | Impact on Lifespan |
|---|---|
| Quality | Higher quality = longer lifespan |
| Thickness | Thicker mats = more durable |
| Usage | Less use = longer lifespan |
| Maintenance | Regular cleaning and care = longer lifespan |
| Subfloor | Proper preparation = prevents premature wear, ensuring longer lifespan |
Conclusion
DIY gym rubber flooring installation is possible, but success goes beyond just laying it down. Consider long-term stability, safety, and function. Prioritize the subfloor, material acclimatization, and the right securing method for a truly lasting gym floor.
-
Explore this link to learn effective installation techniques and ensure your gym flooring lasts longer and performs better. ↩
-
Learn about urethane adhesive’s properties and applications to ensure a strong, lasting bond for your flooring. ↩
-
Explore the advantages of rubber flooring, including durability and comfort, to make an informed choice for your gym. ↩
-
Discover how a clean, level, stable gym floor enhances your workout experience and prevents injuries. ↩
-
Understanding the importance of a stable subfloor can help you choose the right flooring for your gym, ensuring safety and durability. ↩
-
Learn about the risks of placing rubber flooring over carpet to avoid moisture issues and ensure a safe workout environment. ↩
-
Explore the advantages of concrete subfloors, including strength and stability, to make informed flooring decisions. ↩
-
Learn the best practices for installing plywood subfloors to ensure durability and prevent moisture damage. ↩
-
Find out the pros and cons of installing new flooring over existing hard surfaces for a seamless renovation. ↩
-
Explore this link to learn effective techniques for using double-sided tape to secure your gym flooring, ensuring stability during workouts. ↩
-
Discover expert tips on applying urethane adhesive for a permanent bond in high-traffic gym areas, enhancing safety and performance. ↩
-
Find out how interlocking tiles can provide a stable and easy-to-install flooring solution for home gyms, making workouts safer and more enjoyable. ↩
-
Explore this link to understand the lifespan of rubber mats and factors affecting their durability, ensuring you make an informed purchase. ↩
-
Learn how proper maintenance can significantly prolong the life of your rubber mats, saving you money in the long run. ↩